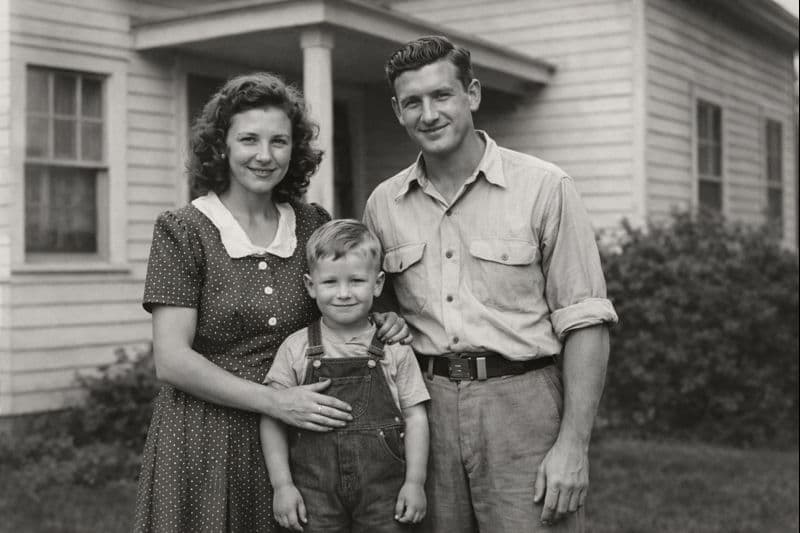
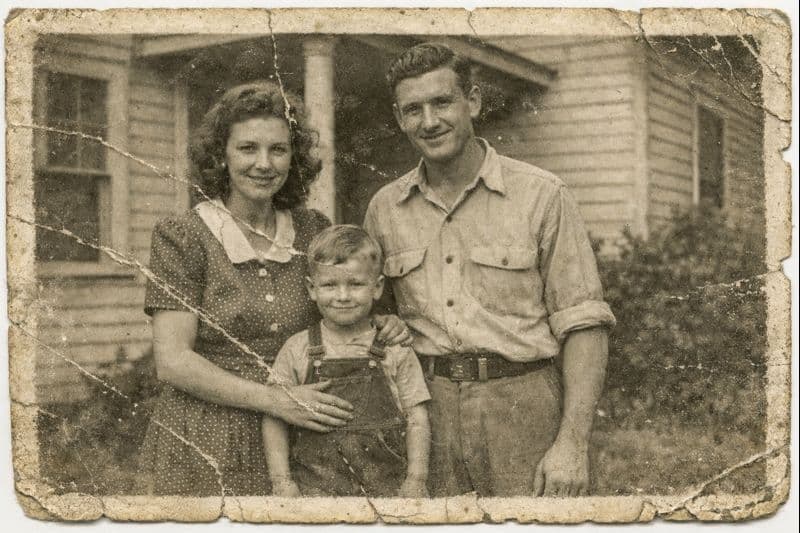
How to Colorize Black and White Photos
Updated
Quick answer
To colorize a black and white photo, scan it sharply, open an AI colorization app such as RetroPic on your iPhone, choose Colorize Photo and save the result. The AI adds natural skin tones, hair, clothing and background colors in one tap, with no Photoshop or manual painting.
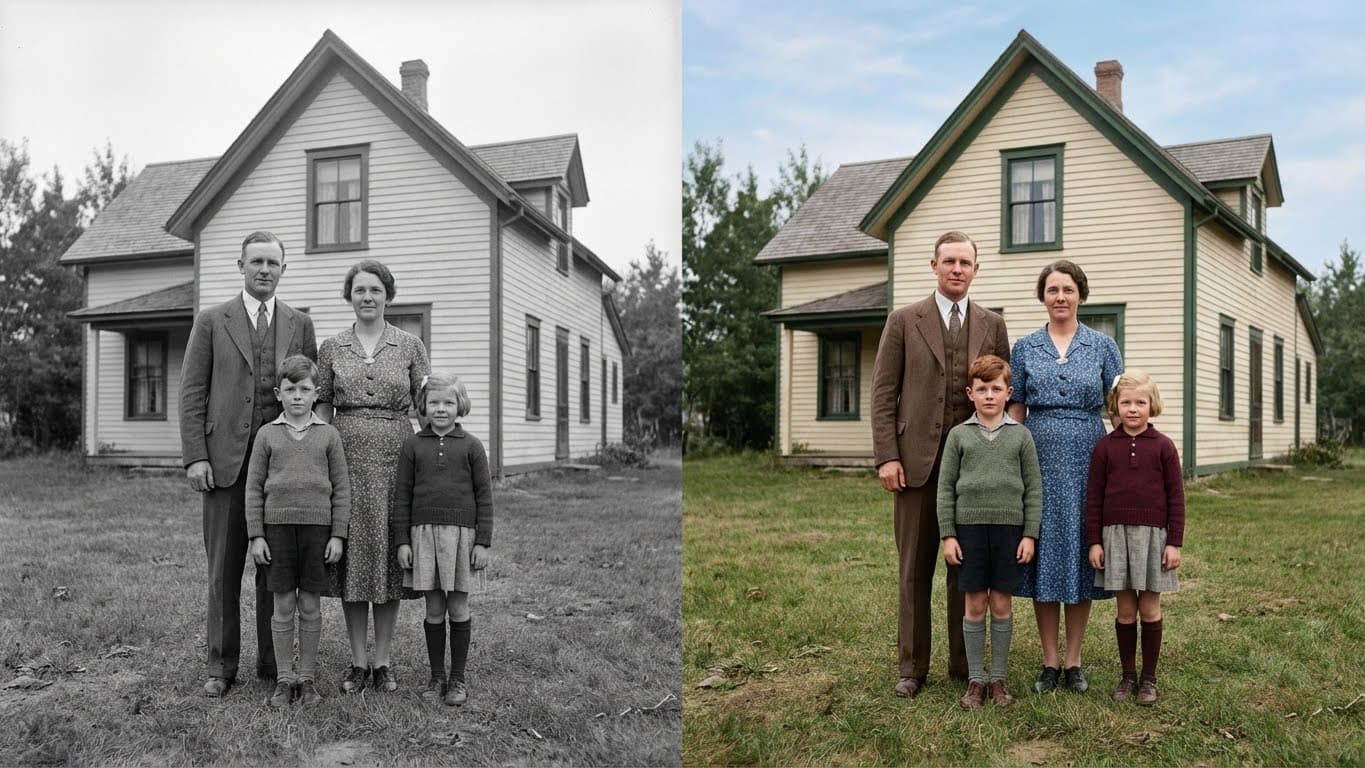
A black and white photo shows shape and light, but not the blue of a dress, the red of a barn or the tan of a summer face. Adding color often makes an old photo feel recent, and it can make relatives see a familiar person in a new way. For a long time, colorizing was a skill of digital artists who spent hours per image. Today, AI does it in about a minute on an iPhone.
This guide explains how colorization works, the manual methods and their limits, how to prepare a photo for the best result, and how to colorize black and white photos in RetroPic.
How black and white photos store (and lose) color
A black and white photo records only brightness. A red dress and a green dress of the same brightness turn into the same gray. That information is gone, and no software can read it back from the print.
So every colorization method, by hand or by AI, is a reconstruction. The goal is not to "reveal" hidden colors. The goal is to choose colors that are plausible: skin that looks like skin, a sky that looks like a sky, a uniform that matches its era.
This matters for two reasons:
- You should treat a colorized photo as an interpretation, not as evidence.
- If you know a real color (a family story about a yellow car, a blue wedding suit), you know something the software does not.
Ways to colorize a photo
By hand in Photoshop
The classic method uses separate layers for each area: skin, hair, eyes, lips, each piece of clothing, the background. Each layer is set to the Color blend mode and painted with a soft brush. A skilled artist also varies the skin tone across the face, because cheeks, nose and ears are redder than the forehead.
The result can be beautiful, but a single portrait often takes two to six hours. A group photo can take days.
Photoshop Neural Filters and other desktop AI
Desktop editors now include AI colorization filters. They are faster than painting, but you still need a computer, a subscription and a scan transferred from your phone.
Online colorization websites
Many websites colorize a photo you upload. They work, but most add watermarks, limit the resolution or ask you to create an account first.
An AI colorization app on iPhone
An app like RetroPic lets you do everything from the phone you used to scan the photo. You choose a photo, tap one button and get a color version in your library. The photo is uploaded over an encrypted connection for AI processing and auto-deleted from our servers within 24 hours. There is no account, no computer and no visible watermark on the saved photo.
Step 1: Prepare the photo
Colorization models look for objects: faces, hands, hair, grass, sky, wood, fabric. The clearer those objects are, the better the color.
- Scan in soft daylight without flash, with the iPhone held parallel to the print.
- Crop the borders. White paper borders and the table around the photo confuse the colors at the edges.
- Fix damage first. Scratches, stains and heavy fading become colored artifacts after colorization. If the photo is damaged, use Restore Old Photo instead of Colorize Photo: it repairs the damage and adds natural color in the same step. See how to restore old photos on iPhone.
- Sepia is fine. Brown-toned prints colorize as well as neutral gray ones.
Step 2: Colorize in RetroPic
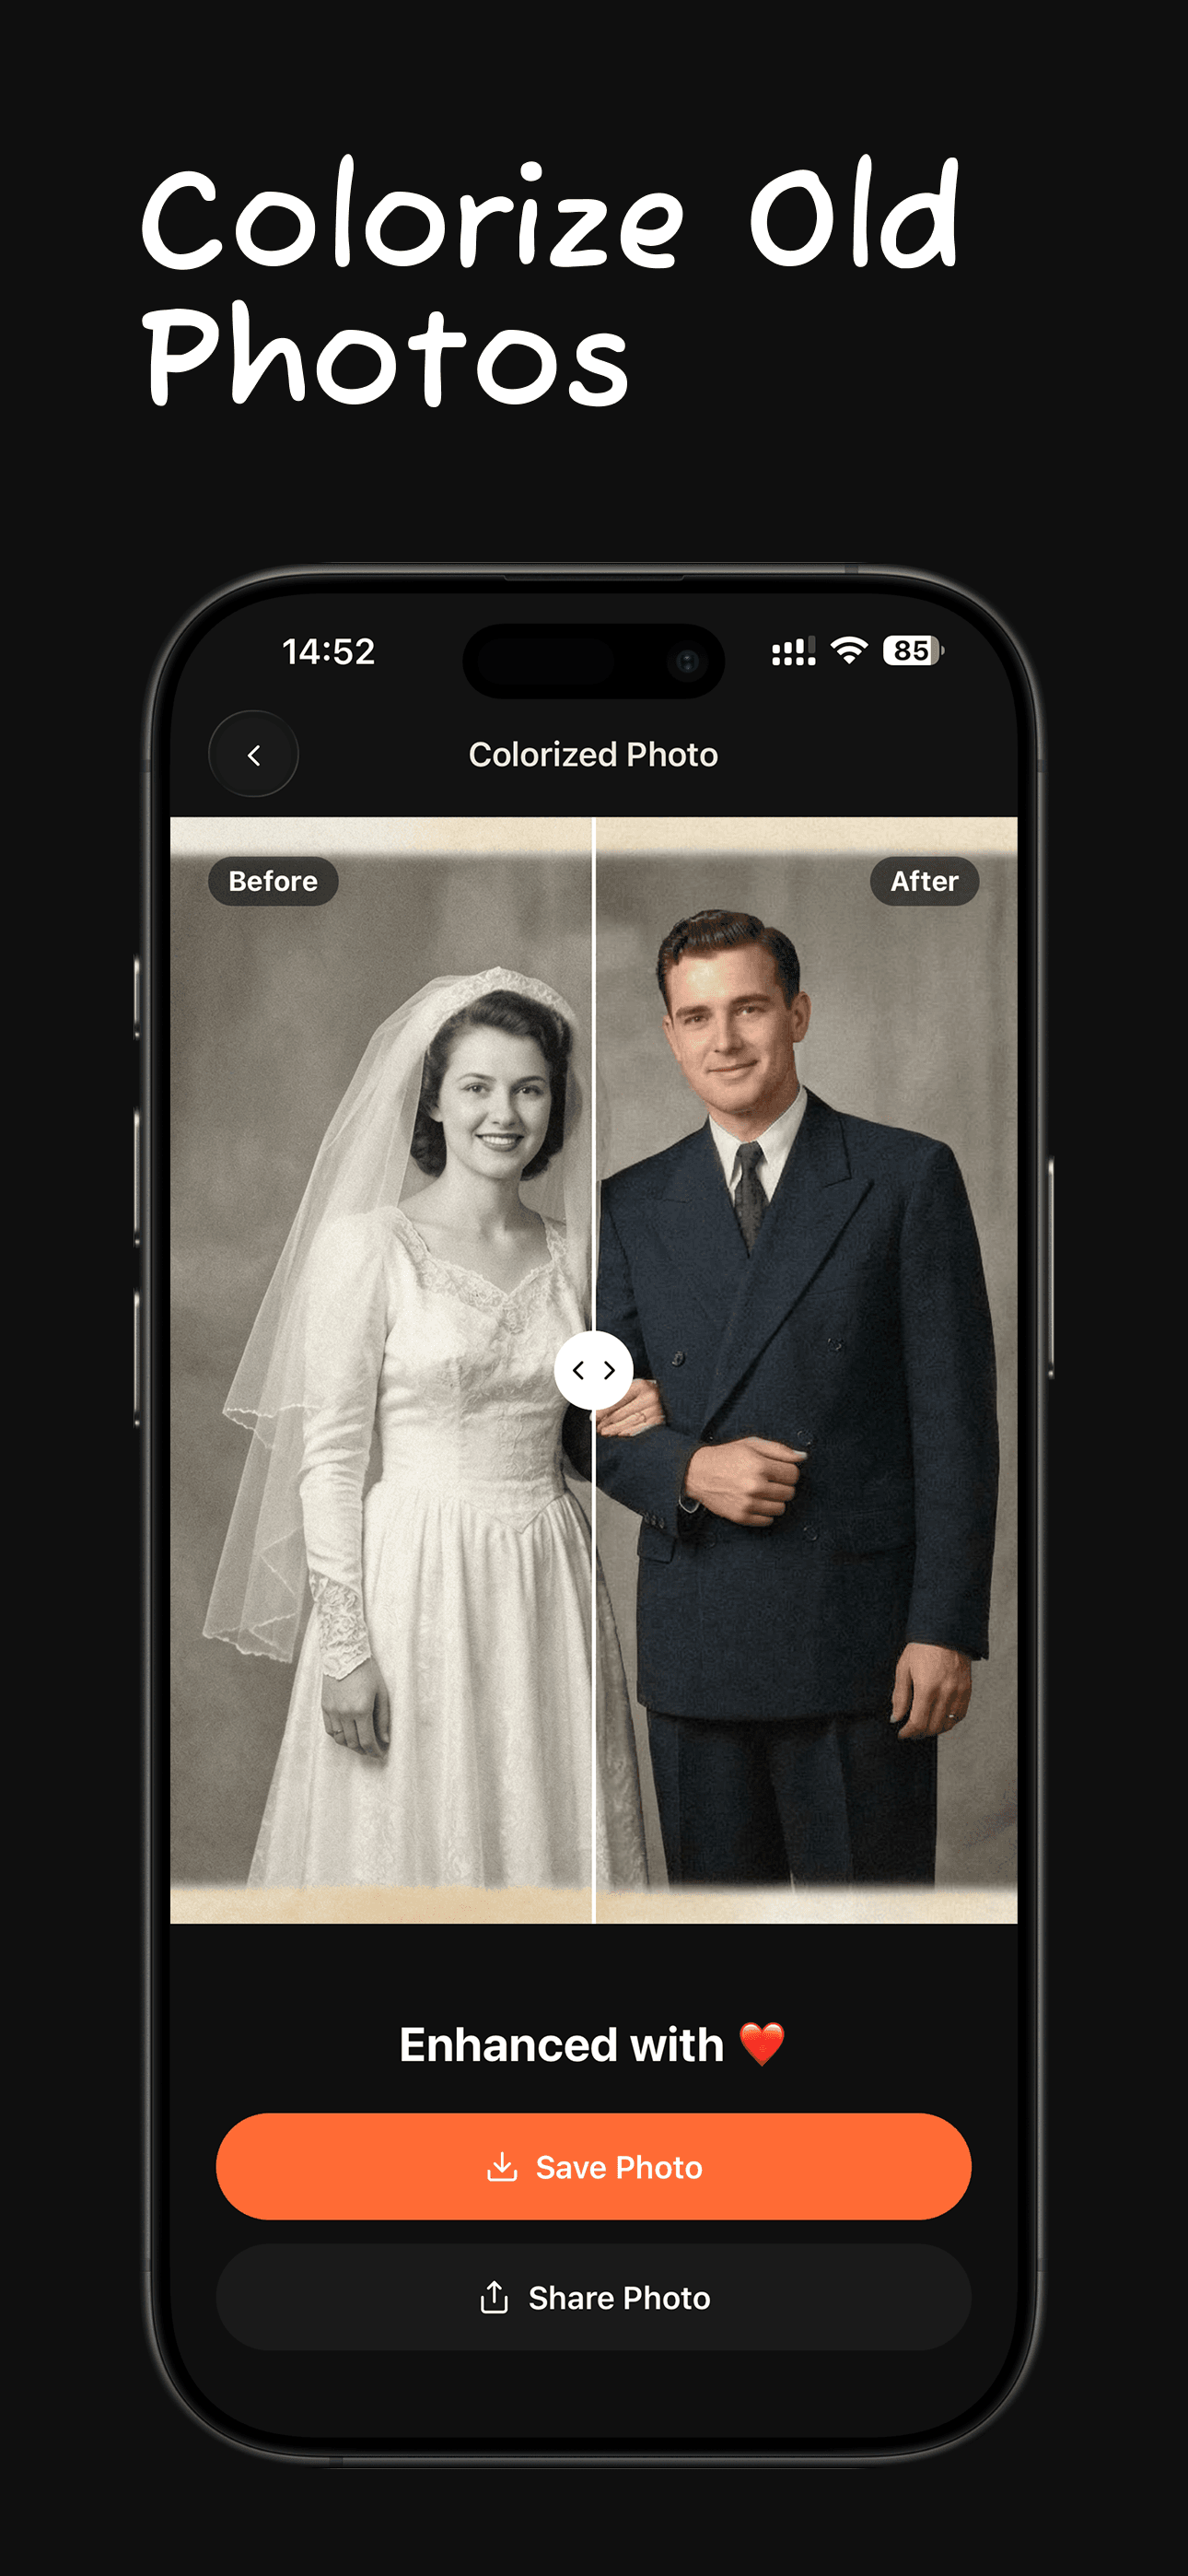
Open RetroPic and tap Colorize Photo. Pick the black and white photo. The AI analyzes the whole scene and adds:
- natural skin tones with soft variation,
- hair and eye colors that fit the person,
- clothing and uniform colors typical for the period,
- realistic greens, blues and earth tones for the background.
When it finishes, use the before and after slider to compare. Then tap Save Photo. The colorized version is saved as a new image, so your original black and white photo stays untouched. The exact steps with screenshots are below this article.
Step 3: Judge the result
Look at the colorized photo the way a family member would.
- Skin. It should look warm and alive, not orange and not gray. Hands and face should match.
- Clothes. Neutral colors (navy, brown, gray, white) are common for older photos and usually look right. Very bright colors are a guess.
- Edges. Color should stay inside each object. Check where hair meets the background and where a sleeve meets a hand.
- Small objects. Flowers, flags and signs are hard. If one looks wrong, the rest of the photo can still be fine.
If the result looks flat or muddy, the scan is usually the reason. Try a sharper, brighter scan or run Enhance Quality before you colorize again. See how to make old photos clearer.
Which photos give the best results
| Photo type | Typical result |
|---|---|
| Close-up portraits | Excellent: faces and skin are the strongest part of AI colorization |
| Outdoor family photos | Very good: grass, sky, trees and houses colorize naturally |
| Wedding photos | Very good: white dress, dark suit, flowers |
| Military portraits | Good: uniforms in period-typical tones |
| Indoor photos in low light | Fair: dark areas have less information |
| Very small or blurry prints | Fair: improve sharpness first |
Colorizing photos responsibly
Colorized photos are emotional, and people share them widely. A few habits keep them honest:
- Keep the original next to the colorized version, and share both when the photo is historical.
- Say that it is colorized when you post it, especially for photos of public events.
- Do not "correct" history. If you know the real color of something, trust the record over the AI.
Ideas for colorized photos
- Print a colorized portrait of a grandparent next to the original for a birthday.
- Make a before and after collage for a family reunion.
- Add colorized photos to a family tree or a memorial slideshow.
- Colorize old photos of your house or street to see how it changed.
Common mistakes to avoid
- Colorizing a damaged scan. Every scratch and stain gets its own color and becomes more visible. Restore first, colorize second.
- Colorizing a photo of a photo on a screen. Moiré patterns and screen glare turn into colored noise. Always scan the print or use the original digital file.
- Over-editing afterwards. A strong saturation boost makes skin look orange and clothes look like plastic. If you adjust the result in the Photos app, keep changes small.
- Throwing away the original. You may want to colorize the photo again later with a better scan. Keep the black and white file.
Colorizing a whole album
If you have dozens of photos, work in batches. First scan all prints in one session with the same light, so the scans look consistent. Then sort them: damaged photos go through Restore Old Photo, which repairs and colorizes them in one step, and clean ones go to Colorize Photo. Save the results into a separate album in Photos, for example "Colorized family photos", so they do not mix with the originals. Each photo uses one credit, so plan the order: start with the portraits that matter most to your family.
Summary
To colorize a black and white photo, start with a clean, cropped scan, repair any damage first, and then let an AI colorization tool add natural colors. In RetroPic, that is a single tap on Colorize Photo. Treat the result as a realistic interpretation, keep the original, and enjoy seeing familiar faces in color.
How to do it in RetroPic
- 1
Get a clean scan
Photograph or scan the black and white print in soft light, without flash or glare.
- 2
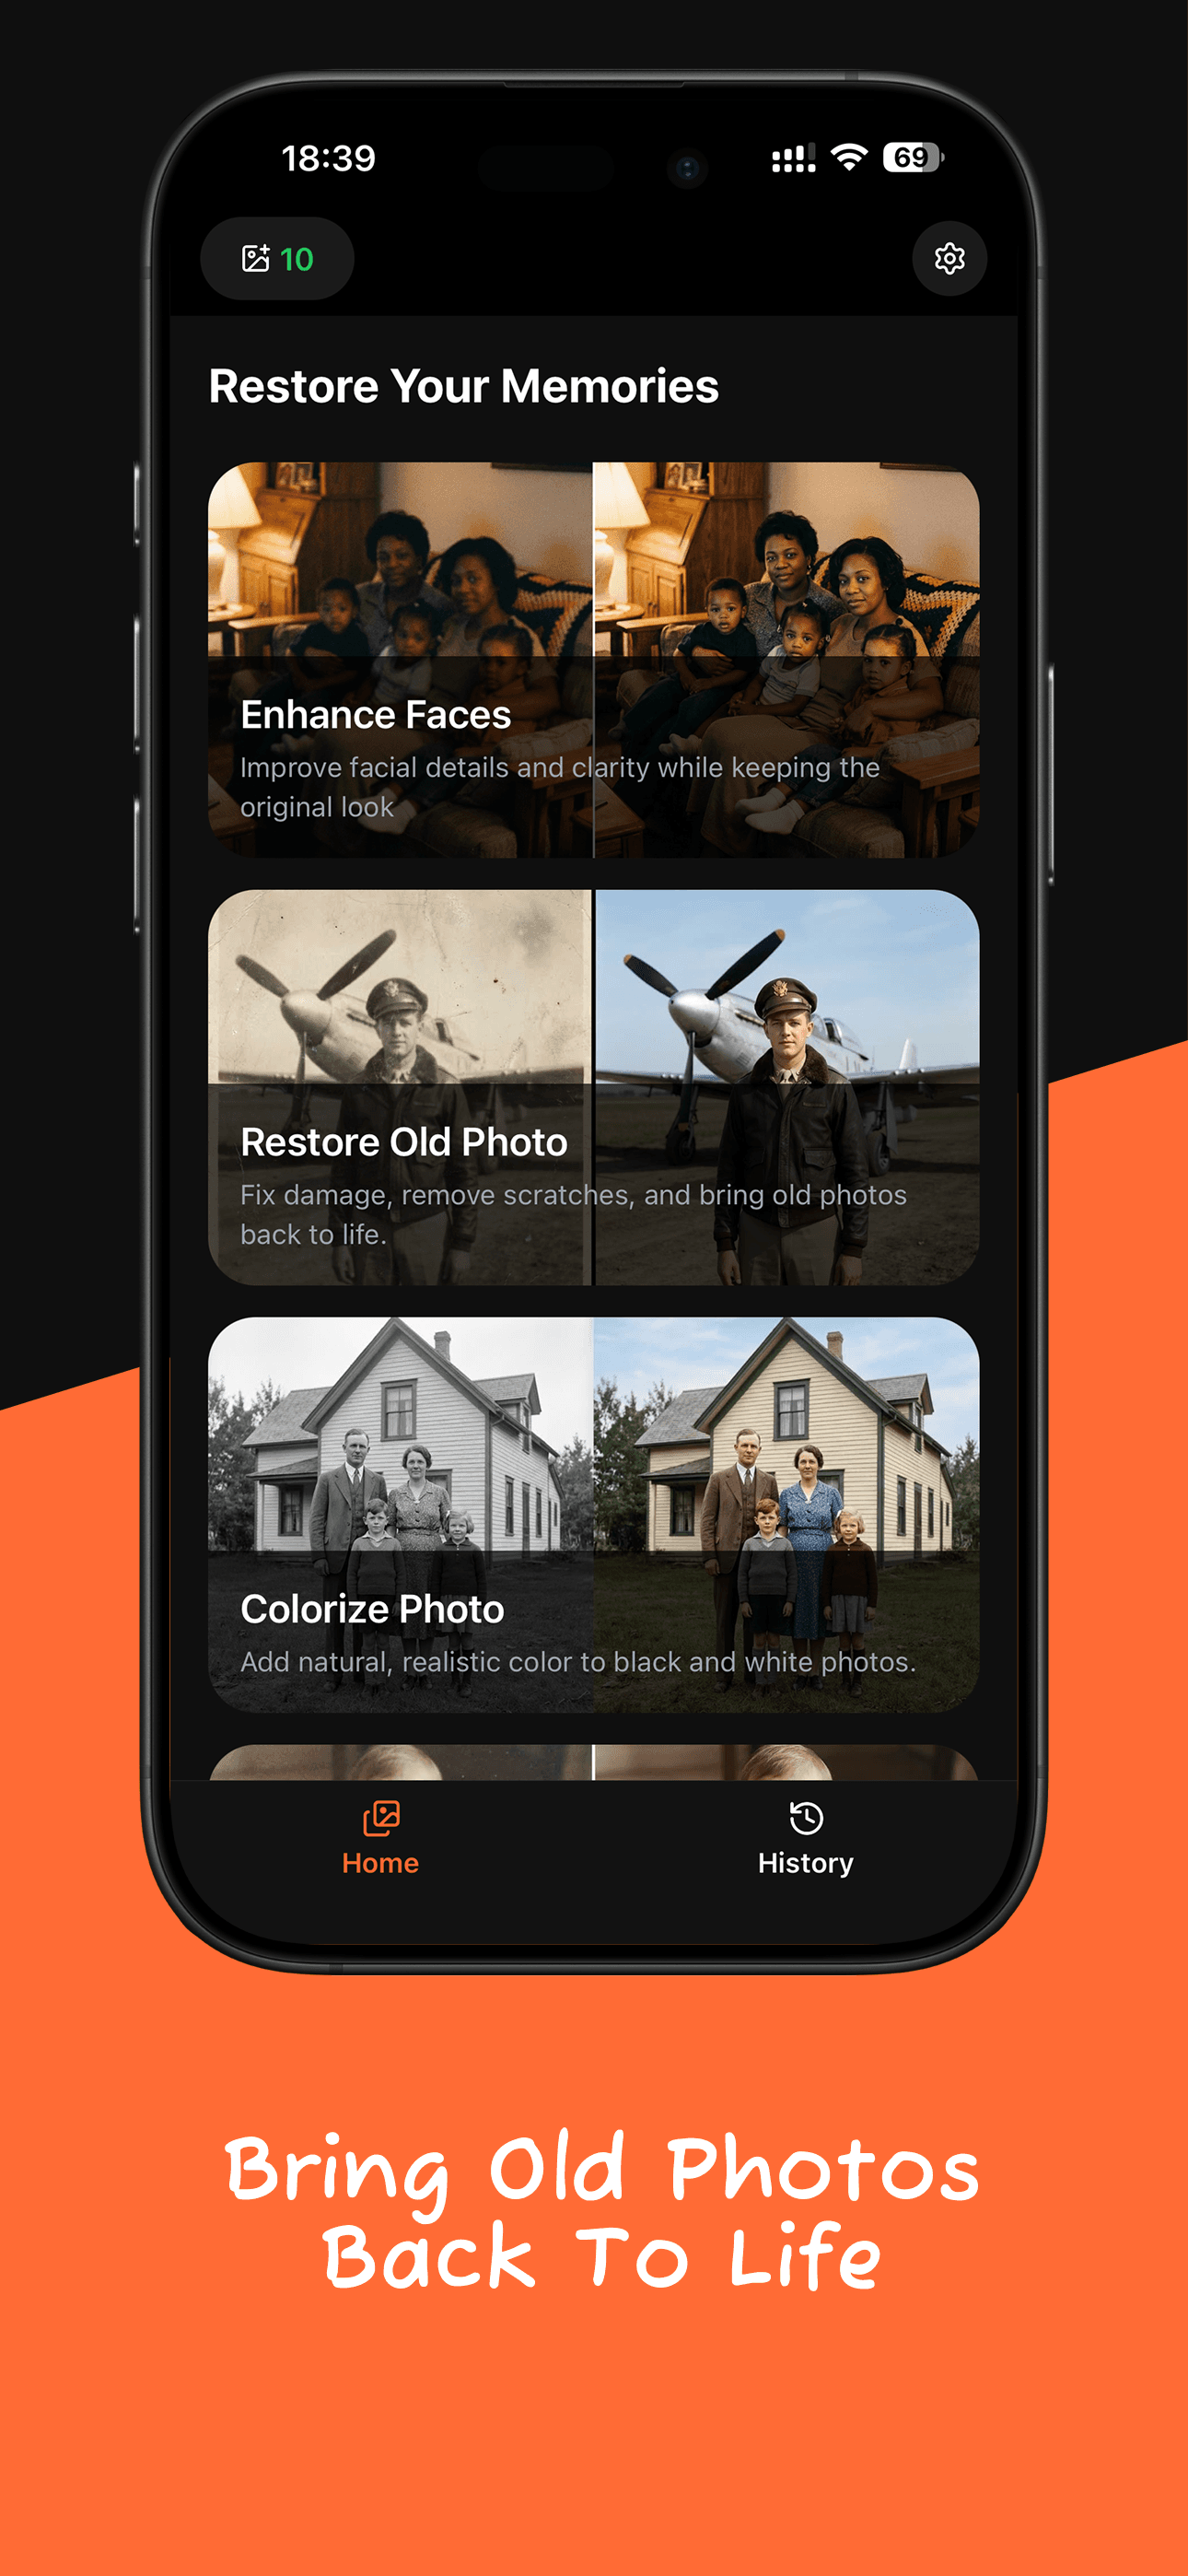
Open RetroPic and tap Colorize Photo
On the home screen, tap Colorize Photo and choose the photo from your library.
- 3
Let the AI add color
RetroPic predicts natural colors for skin, hair, clothes and the background. Keep the app open until it finishes.
- 4
Compare and save
Drag the slider to compare the original and the colorized version, then tap Save Photo.

FAQ
How to Colorize Black and White Photos: FAQ
Are AI colorized photos historically accurate?
No tool can know the true colors from a black and white photo. AI gives a realistic, plausible result based on similar images. Treat it as an interpretation, not a record.
Can I colorize a photo without Photoshop?
Yes. An AI app like RetroPic colorizes the whole photo in one tap on your iPhone. Manual colorizing in Photoshop takes hours per photo.
Does colorizing change the original photo?
No. RetroPic saves the colorized version as a new photo. Your original black and white file stays in your library.
Which photos give the best colorization results?
Sharp portraits and outdoor scenes with clear faces work best. If the photo is also scratched or faded, use Restore Old Photo instead: it repairs the damage and adds color in one step.
Related guides
How to Restore Old Photos on iPhone
Fix scratched, cracked and faded old photos on your iPhone in minutes. How to scan a print, restore it with AI, and save a clean copy.
How to Make Old Photos Clearer
Why old photos look soft and blurry, what the sharpen slider can and cannot do, and how to make an old photo clearer with AI on your iPhone.
Bring your old photos back to life
Download RetroPic for iPhone. Your first photo is free.
Scan with your iPhone camera