How to Increase the Resolution of an Old Photo
Updated
Quick answer
To increase the resolution of an old photo, scan it at the highest quality you can, then use an AI upscaler. In RetroPic on iPhone, tap Enhance Faces: it upscales the photo 4x and restores facial detail, so a small print or a low-resolution scan can be printed larger without visible pixels.
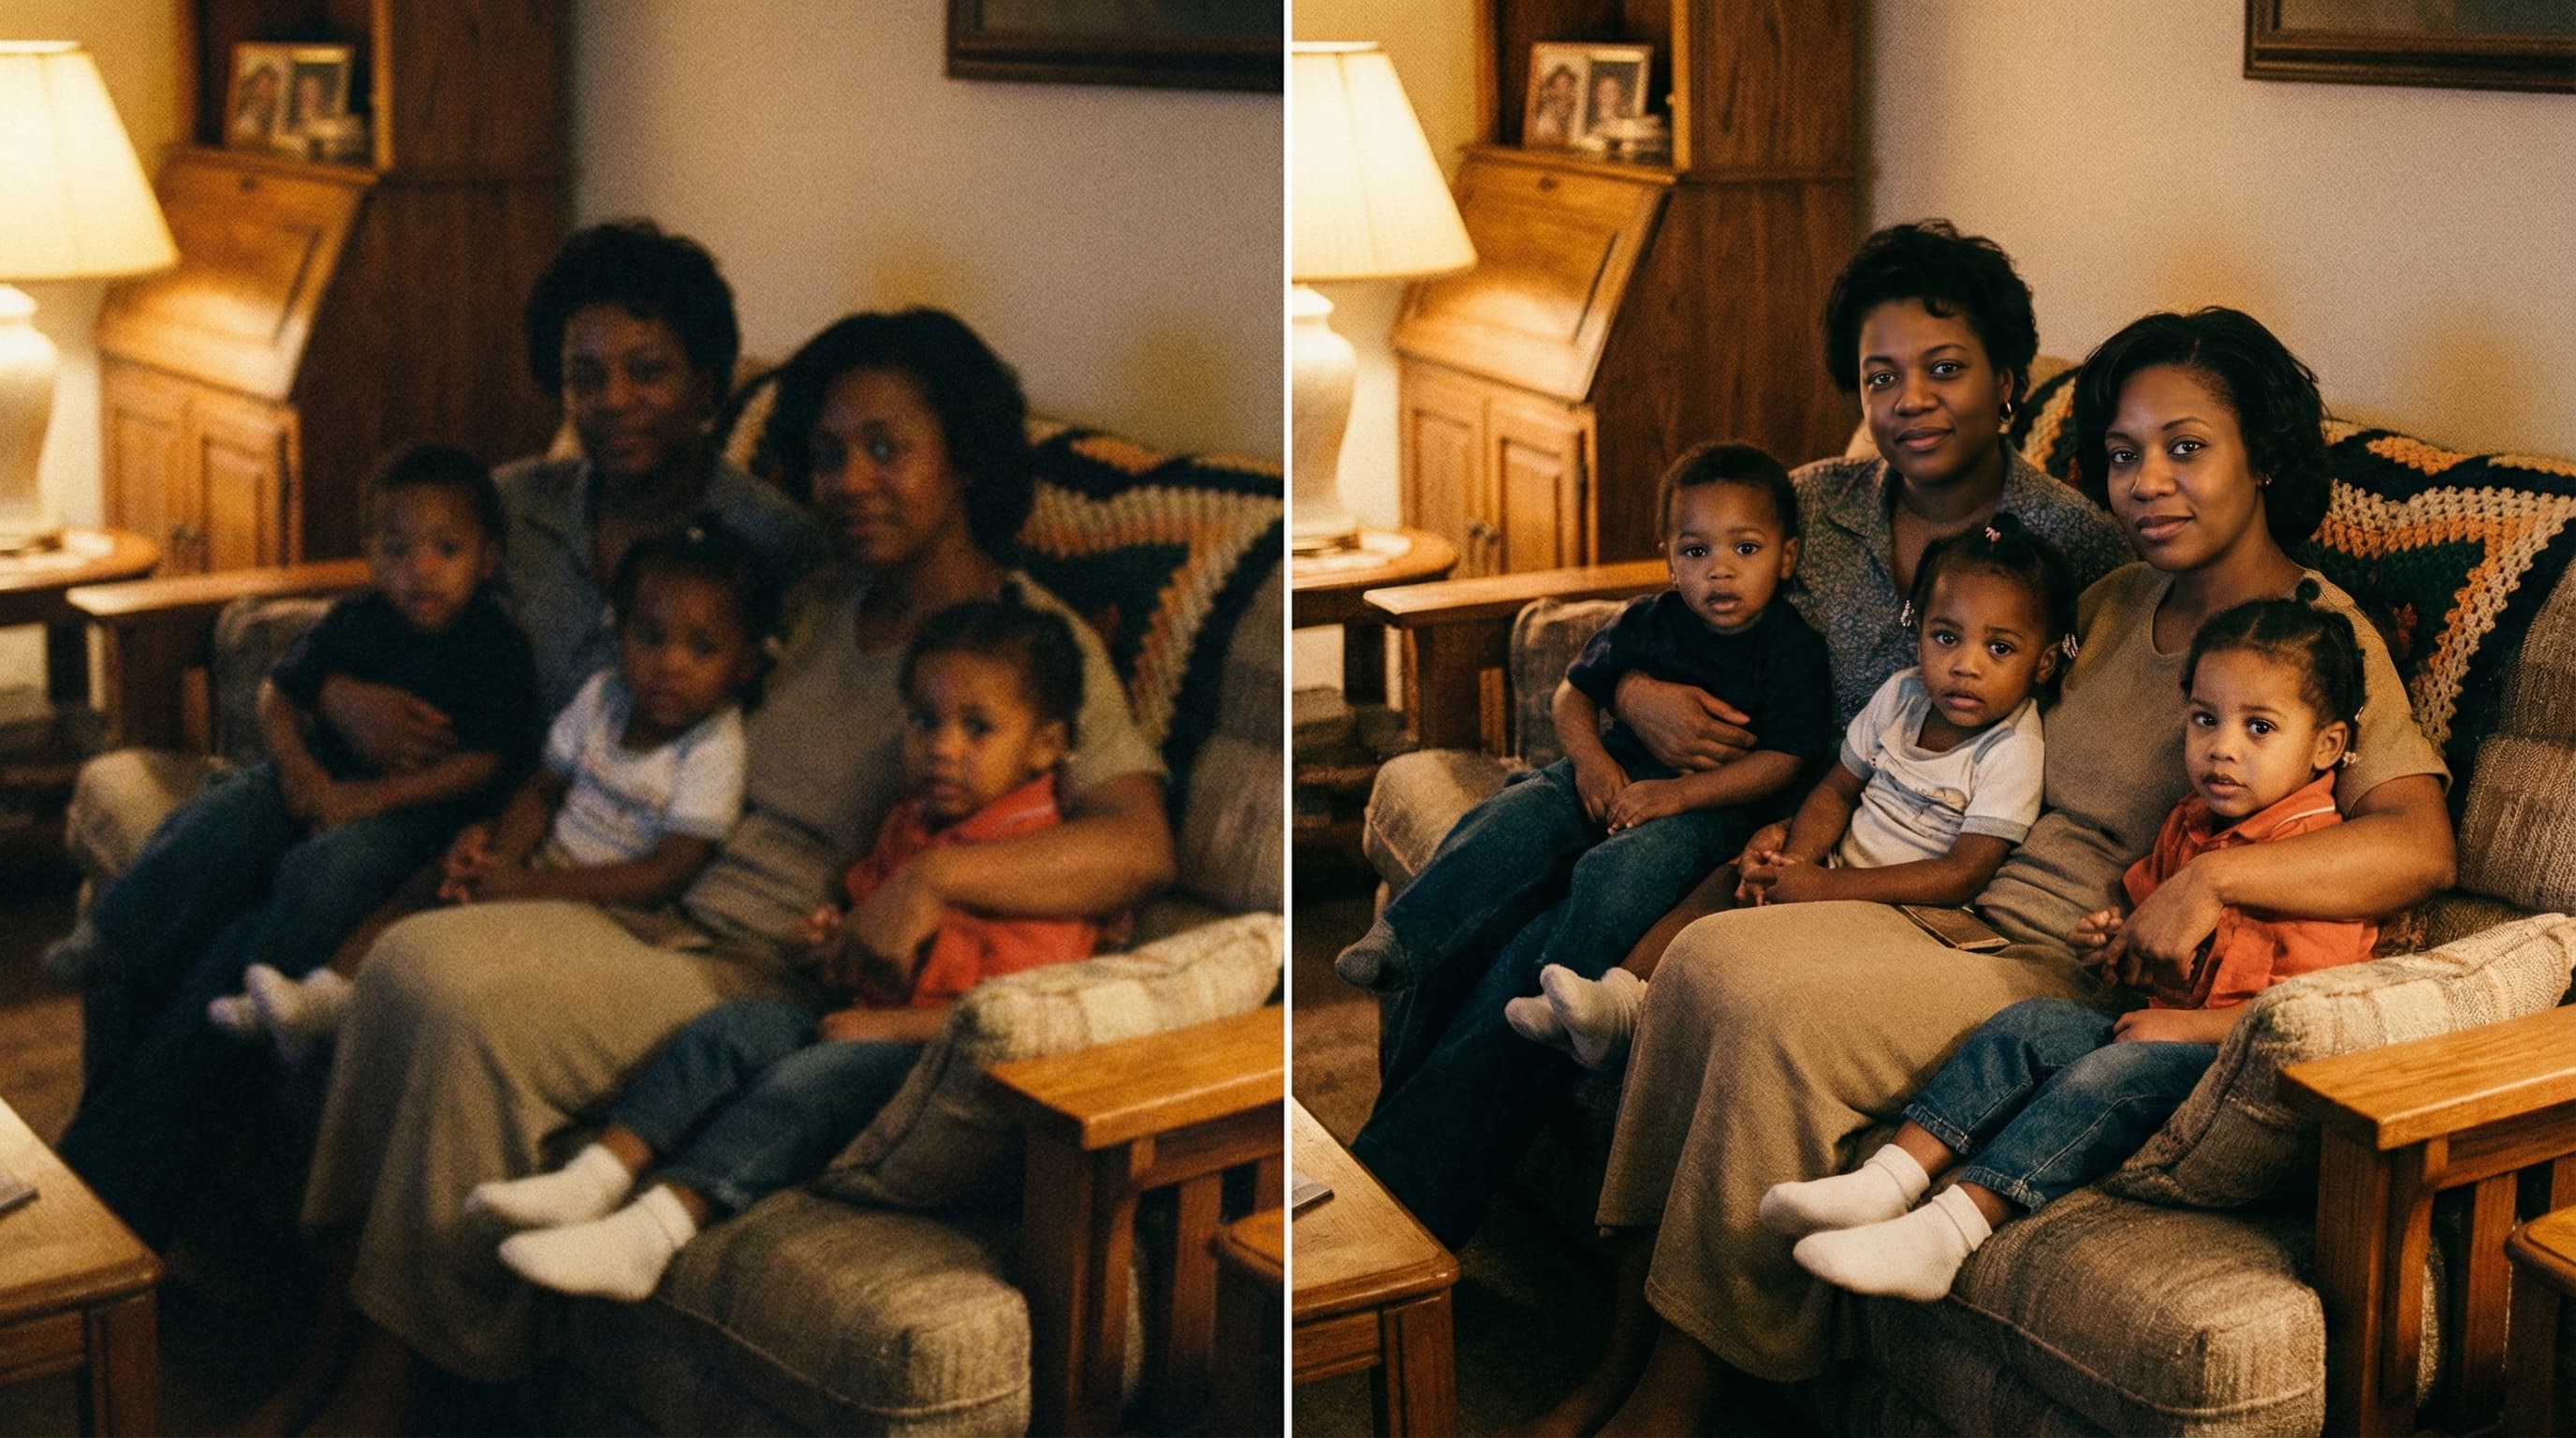
You found a great old photo, but it is tiny. Maybe it is a wallet-size print, a cropped face from a group shot, or a low-resolution scan someone emailed years ago. On the phone screen it looks fine. Then you try to print it at 8×10 inches, and the print shop warns you about low quality, or the result looks blocky and soft.
This guide explains what resolution really means for printing, why simple resizing does not work, and how to increase the resolution of an old photo with AI upscaling on your iPhone.
Resolution, explained simply
A digital photo is a grid of pixels. Resolution is the size of that grid, for example 1200×1800 pixels. When you print, the printer spreads those pixels over paper. The density is measured in pixels per inch (ppi).
- 300 ppi is the standard for sharp prints you look at up close.
- 200 ppi is often acceptable for larger prints viewed from a distance.
- Below 150 ppi, most people see softness or visible pixels.
To find the pixels you need, multiply the print size in inches by the target ppi:
| Print size | Pixels for 300 ppi | Pixels for 200 ppi |
|---|---|---|
| 4×6 in | 1200×1800 | 800×1200 |
| 5×7 in | 1500×2100 | 1000×1400 |
| 8×10 in | 2400×3000 | 1600×2000 |
| 11×14 in | 3300×4200 | 2200×2800 |
You can check a photo's size on iPhone: open it in Photos and swipe up, or tap the ⓘ button. The info panel shows the pixel dimensions.
Why normal resizing does not add detail
Any editor can make an image bigger. Classic resizing (called interpolation) creates new pixels by averaging their neighbors. The image gets larger, but no new detail appears. Edges become soft, and small faces turn into smooth blobs.
That is why printing a small photo large looks bad even when the file "has enough pixels" after resizing: the pixels exist, but the detail does not.
How AI upscaling works
AI upscalers are trained on millions of pairs of small and large images. They learn how real detail looks at higher resolution: the texture of skin, the edges of eyes, the strands of hair, the weave of fabric. When they enlarge a photo, they predict that detail instead of averaging pixels.
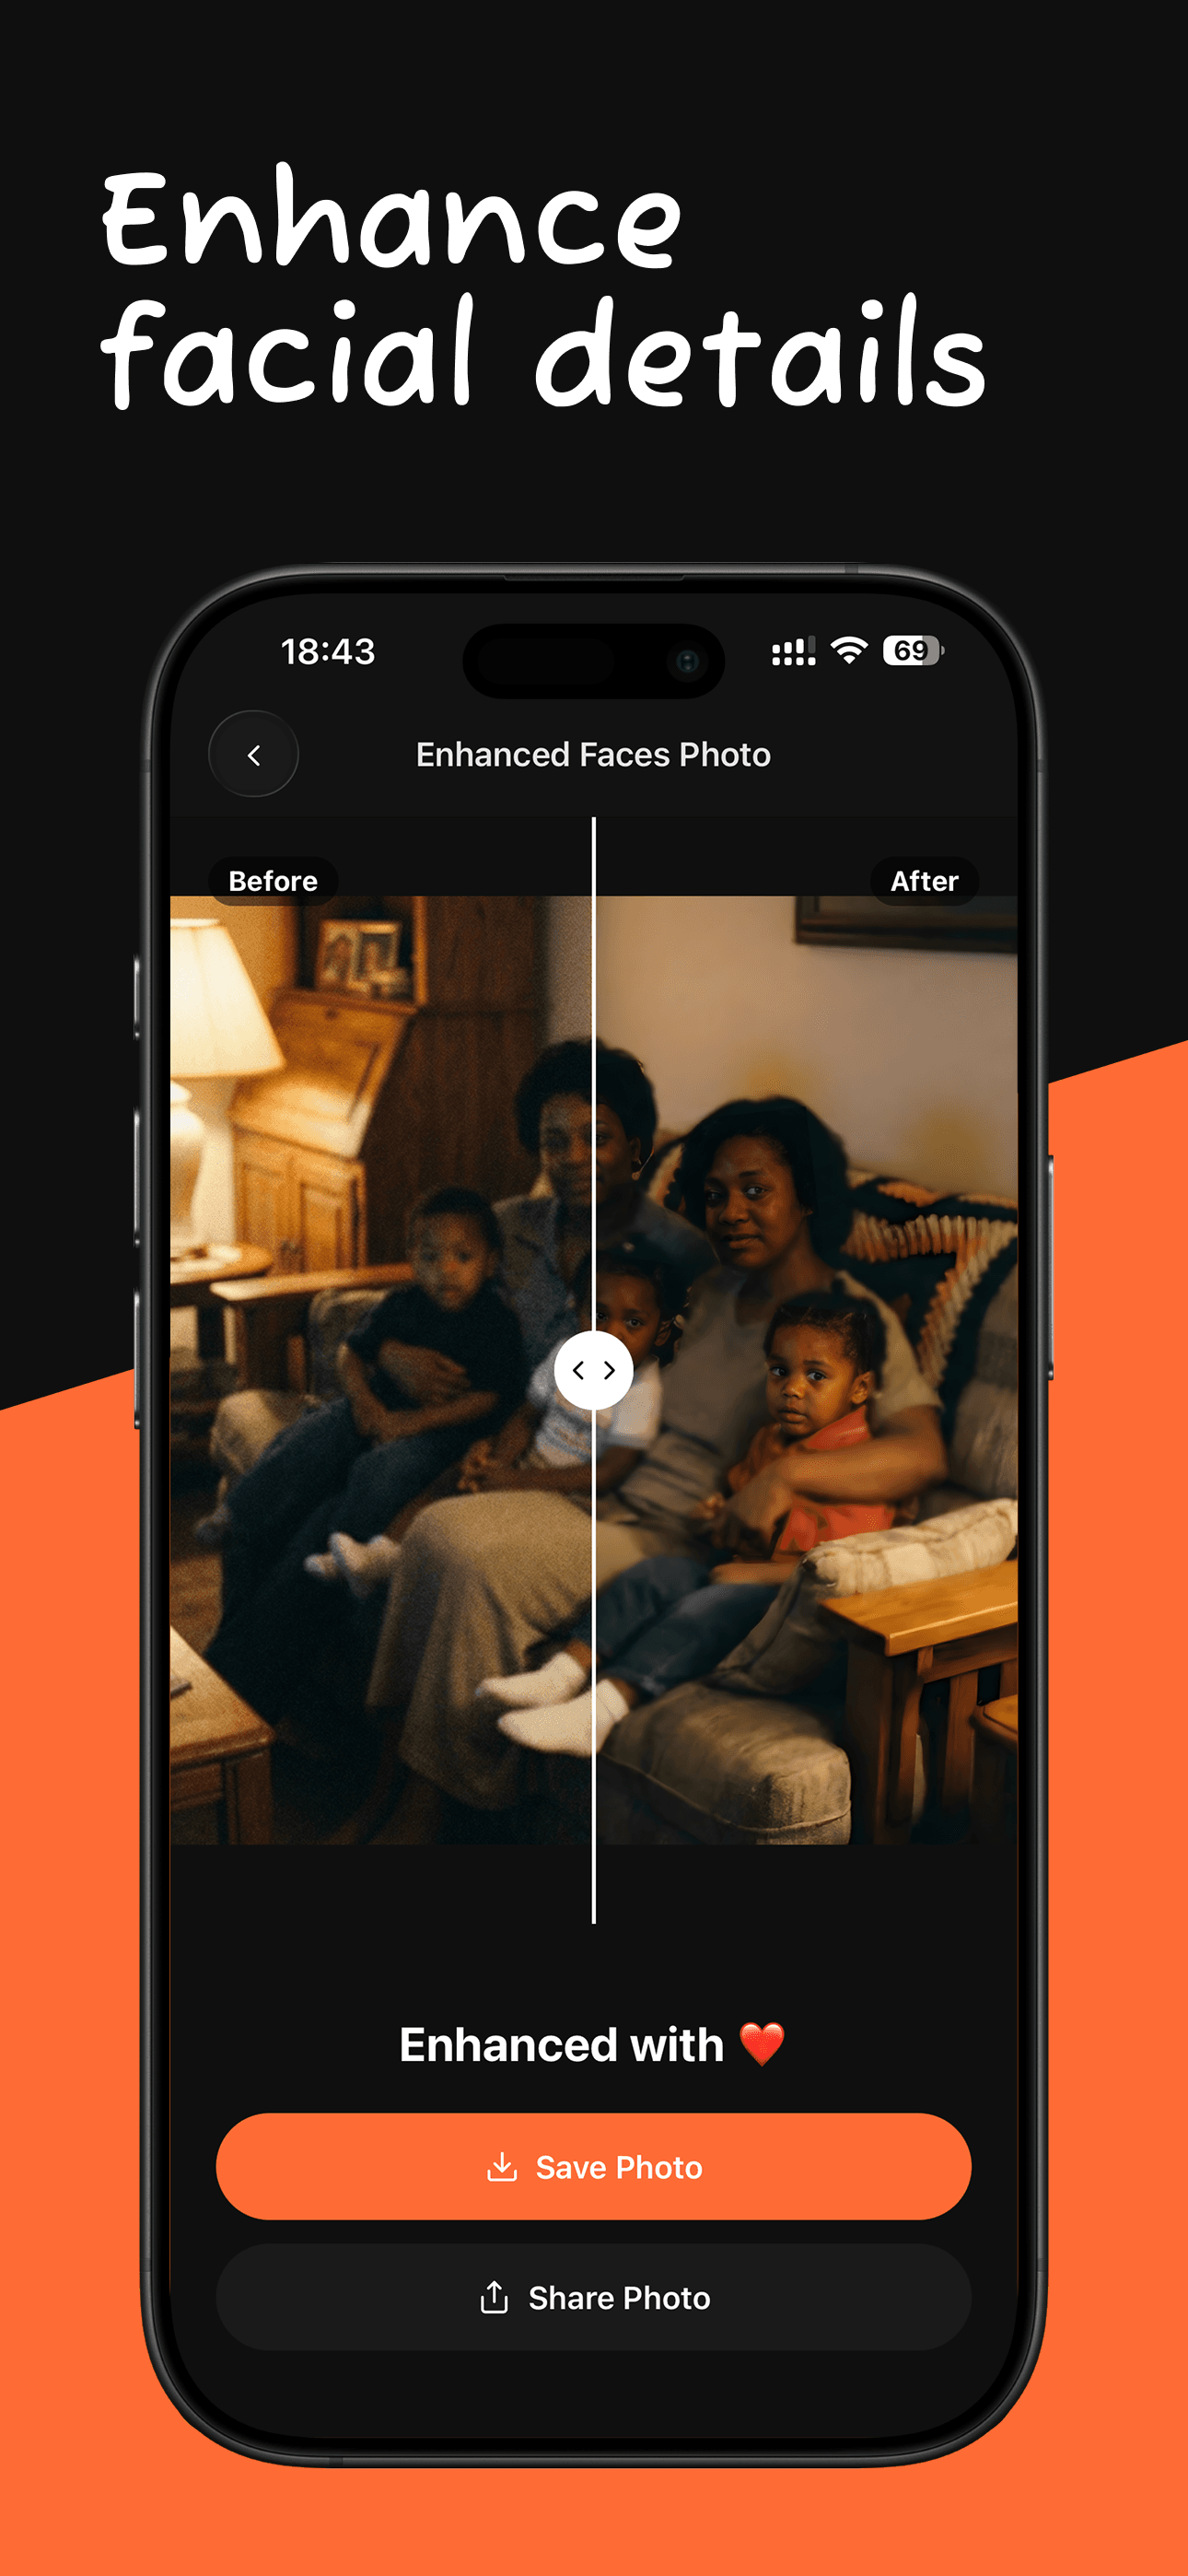
RetroPic's Enhance Faces tool uses an AI upscaling model with face enhancement. It enlarges the photo 4x in each direction and gives special attention to facial features, which are the part of an old photo people care about most. A 4x upscale means 16 times more pixels: a 600×800 scan becomes 2400×3200, enough for a sharp 8×10 inch print.
Step 1: Start with the best possible source
AI upscaling multiplies what is there. A better source gives a better result.
- Use the original file if one exists. Ask relatives for the first-generation scan, not a screenshot or a photo forwarded through a messenger app.
- Rescan the print if you can. Fill the iPhone frame with the photo, use soft daylight and hold the phone steady and parallel.
- Crop before upscaling if you only need one person from a group photo. The AI then spends all its pixels on that person.
- Repair damage first. Scratches and dust get upscaled too. If the photo is damaged, run Restore Old Photo first. See how to restore old photos on iPhone.
- Fix heavy blur first. If the source is very soft, run Enhance Quality before upscaling. See how to make old photos clearer.
Step 2: Upscale in RetroPic
Open RetroPic and tap Enhance Faces. Choose the photo. The AI enlarges it 4x and refines faces. Very large images are first resized to fit the model's working size, so the tool is most useful for small and medium photos, which is exactly where you need it.
When the result is ready, compare it with the before and after slider, then tap Save Photo. To check fine detail, open the saved photo in the Photos app and zoom in on faces. The exact steps with screenshots are below this article.
Step 3: Prepare the file for printing
- Check the pixel size in the Photos info panel and compare it with the table above.
- Crop to the print ratio. A 4×6 print is 2:3, an 8×10 print is 4:5. Crop in Photos before you order, so the print shop does not crop for you.
- Use a photo lab, not an office printer, for prints you want to frame.
- Order one test print before printing many copies.
Upscaling vs. rescanning: which is better?
If you still have the physical print, a better scan is always the first choice. A careful phone scan of a 4×6 print can already give you more real detail than an old low-resolution file. Upscaling then turns that good scan into a print-ready file.
If the print is lost, damaged beyond repair or owned by a relative far away, upscaling is the only way to get a larger version. In that case, start from the largest, least compressed copy anyone has.
Common mistakes
- Upscaling a screenshot. Screenshots include screen pixels and compression. Use the original image.
- Upscaling twice. Running the result through an upscaler again rarely helps and can create an artificial, painted look.
- Resizing in another app first. Do not enlarge the photo before AI upscaling. Give the AI the original pixels.
- Ignoring the aspect ratio. An upscaled photo still has its original shape. Plan the crop for the frame you want.
- Expecting readable text. Small signs, names on uniforms and handwriting are hard to reconstruct. Treat any text in the result as a guess.
Upscaling for screens, not just print
Resolution matters for screens too. A small old photo looks soft on a 4K TV, a large tablet or a digital photo frame. A 4x upscale makes a family slideshow look clean on a big screen. It also helps when you share a photo on social media, because platforms compress images again, and a larger, cleaner source survives that compression better.
Why faces get special treatment
People look at faces first. A small error in a wall or a tree goes unnoticed, but a soft eye or a smeared mouth makes the whole photo feel wrong. That is why Enhance Faces combines upscaling with a face model: the background is enlarged cleanly, and eyes, noses, mouths and hairlines get extra detail. The goal is the same person, just sharper and larger.
What upscaling can and cannot do
| Source | Result after 4x AI upscale |
|---|---|
| Small but sharp scan | Excellent: large, clean print |
| Small, slightly soft scan | Very good, especially faces |
| Tiny face in a group photo | Good: clearly better, some detail is guessed |
| Heavily compressed messenger image | Good: blocks and artifacts are reduced |
| Very blurry or damaged source | Fair: restore or enhance first |
AI upscaling predicts detail. For family prints, that prediction looks natural. For documents, signatures or small text, check the result carefully, because the AI may draw letters that were not there.
Ideas for upscaled photos
- Print a large framed portrait of a grandparent from a small wallet photo.
- Make a canvas print of a family group from an old snapshot.
- Create a high-quality photo book from small vintage prints.
- Use an old photo as a sharp wallpaper on a TV or a tablet.
Summary
To increase the resolution of an old photo, start from the best original you can find, repair damage and blur first, then use an AI upscaler instead of normal resizing. In RetroPic, tap Enhance Faces to upscale 4x with face enhancement. Check the pixel size against the print size you want, crop to the right ratio and order a test print.
How to do it in RetroPic
- 1
Scan at the highest quality
Fill the iPhone frame with the photo when you scan it. A closer scan gives the upscaler more real pixels to work with.
- 2
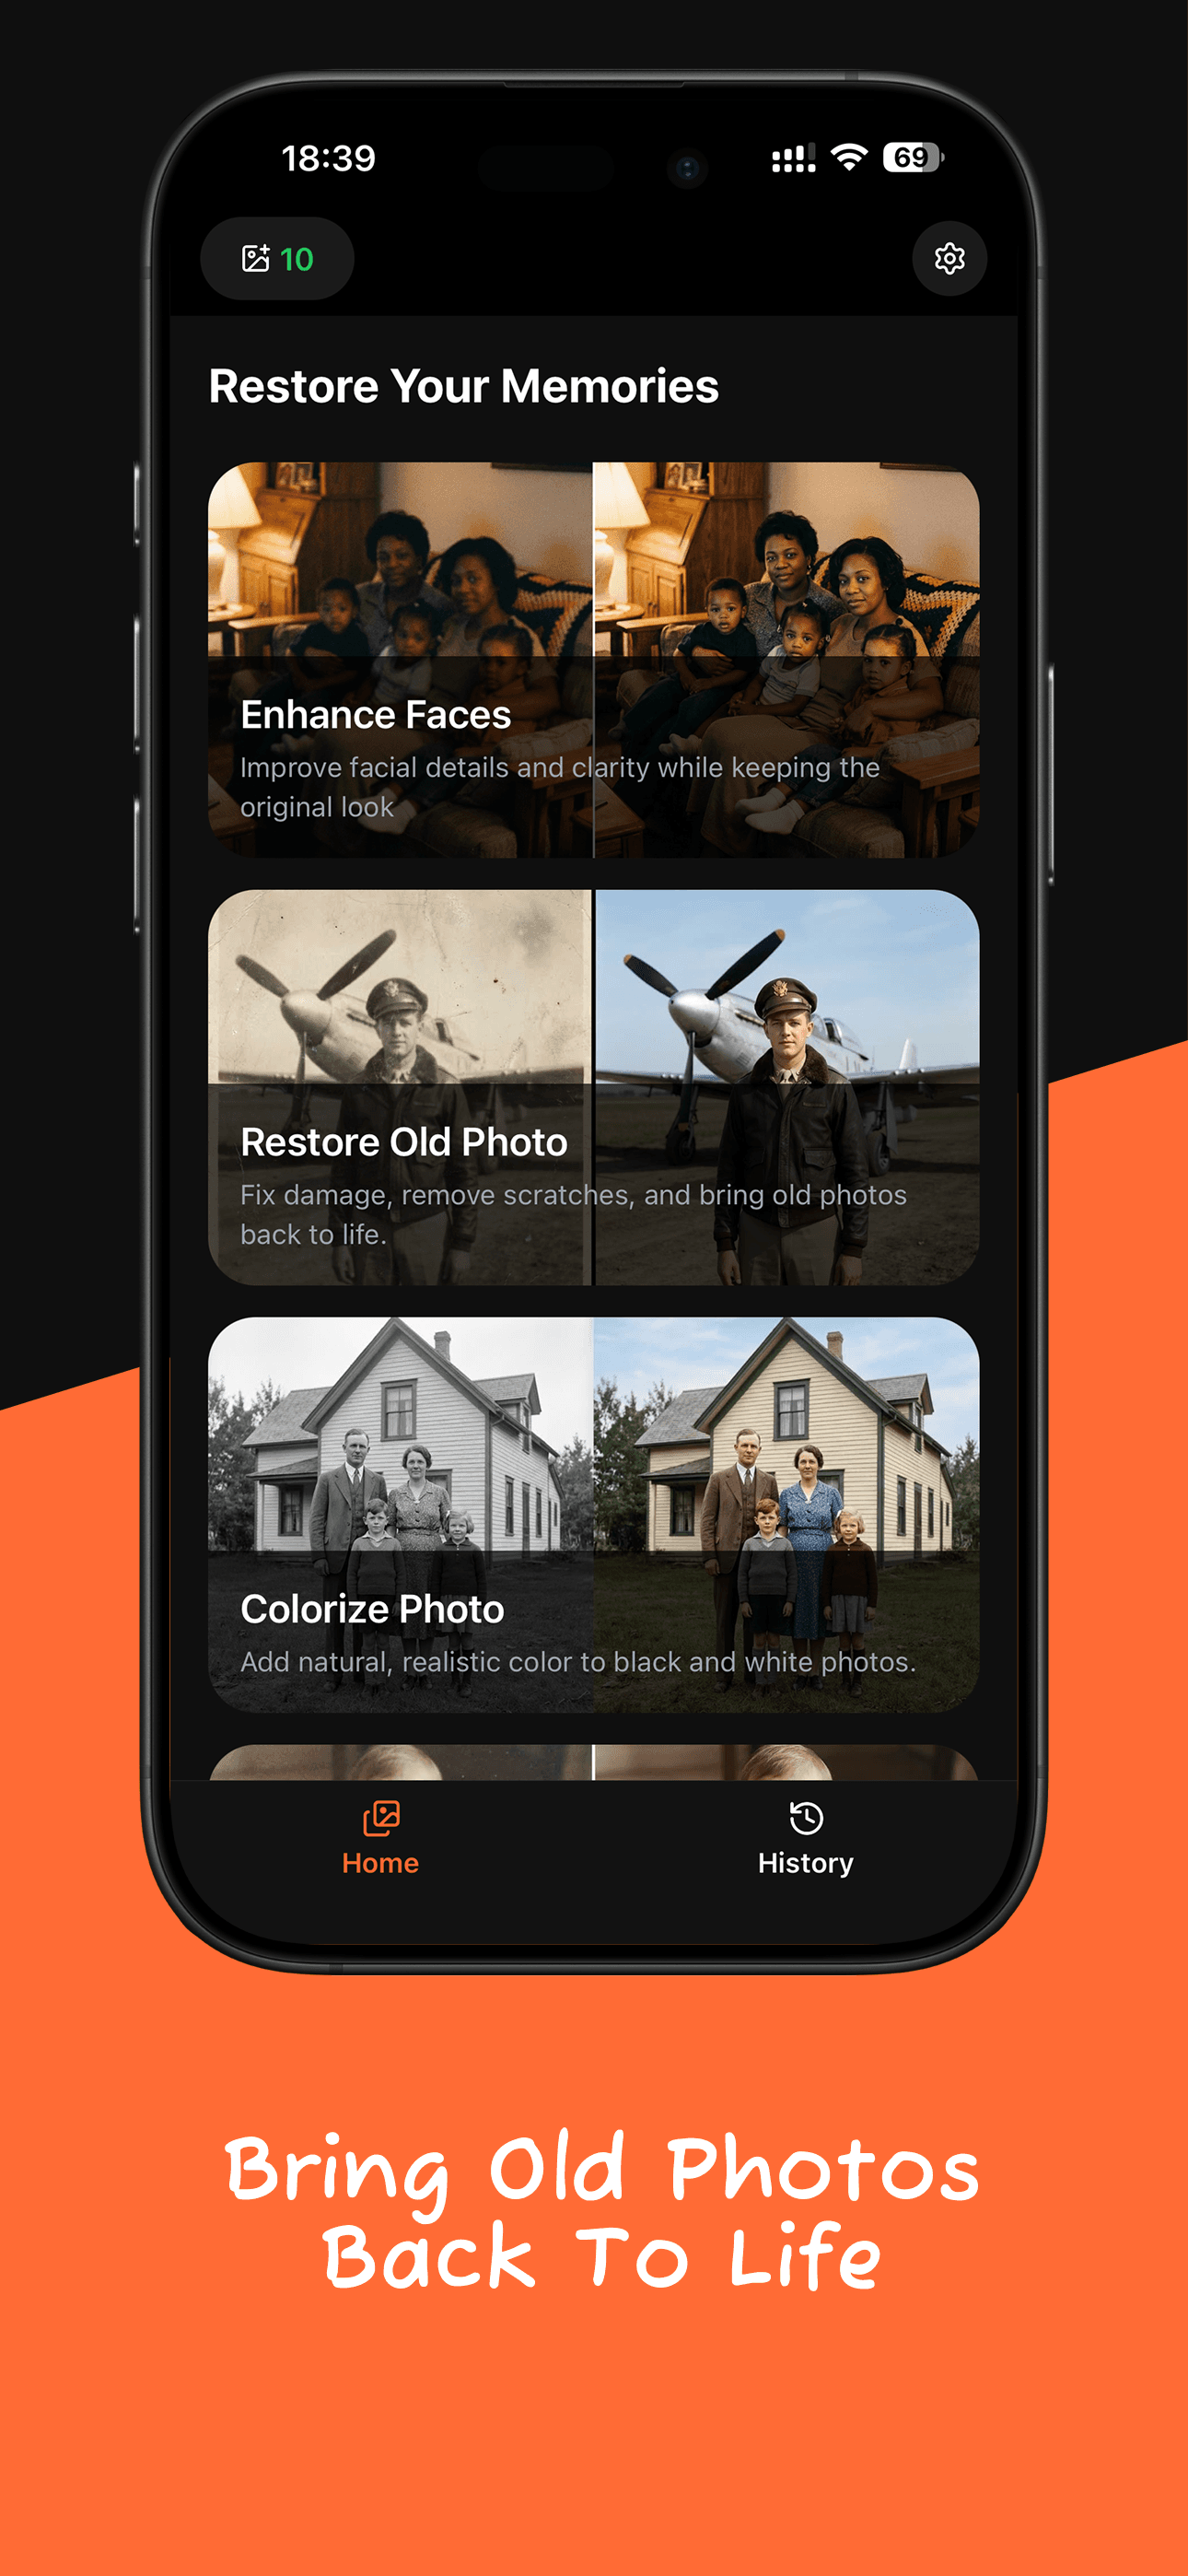
Open RetroPic and tap Enhance Faces
On the home screen, tap Enhance Faces and choose the low-resolution photo.
- 3
Let the AI upscale it
RetroPic enlarges the photo 4x and sharpens facial features. Keep the app open until it finishes.
- 4
Check the detail and save
Compare the result with the slider and tap Save Photo. Zoom in on faces in the Photos app before you send it to print.

FAQ
How to Increase the Resolution of an Old Photo: FAQ
What resolution do I need to print an old photo?
For a sharp print, aim for about 300 pixels per inch. A 4×6 inch print needs about 1200×1800 pixels, and an 8×10 inch print needs about 2400×3000 pixels.
What does upscaling a photo mean?
Upscaling increases the number of pixels in an image. AI upscalers predict the new detail instead of just stretching the pixels, so the larger image stays crisp.
Does upscaling make a photo sharper?
AI upscaling usually makes edges and faces look sharper at the larger size. If the photo is also blurry, run Enhance Quality first and upscale the result.
Related guides
How to Make Old Photos Clearer
Why old photos look soft and blurry, what the sharpen slider can and cannot do, and how to make an old photo clearer with AI on your iPhone.
How to Restore Old Photos on iPhone
Fix scratched, cracked and faded old photos on your iPhone in minutes. How to scan a print, restore it with AI, and save a clean copy.

Bring your old photos back to life
Download RetroPic for iPhone. Your first photo is free.
Scan with your iPhone camera