How to Make Old Photos Clearer
Updated
Quick answer
To make an old photo clearer, start with the sharpest scan you can get, then use AI enhancement instead of a simple sharpen slider. In RetroPic on iPhone, tap Enhance Quality: the AI rebuilds edges, texture and fine detail while it keeps the original look of the photo.
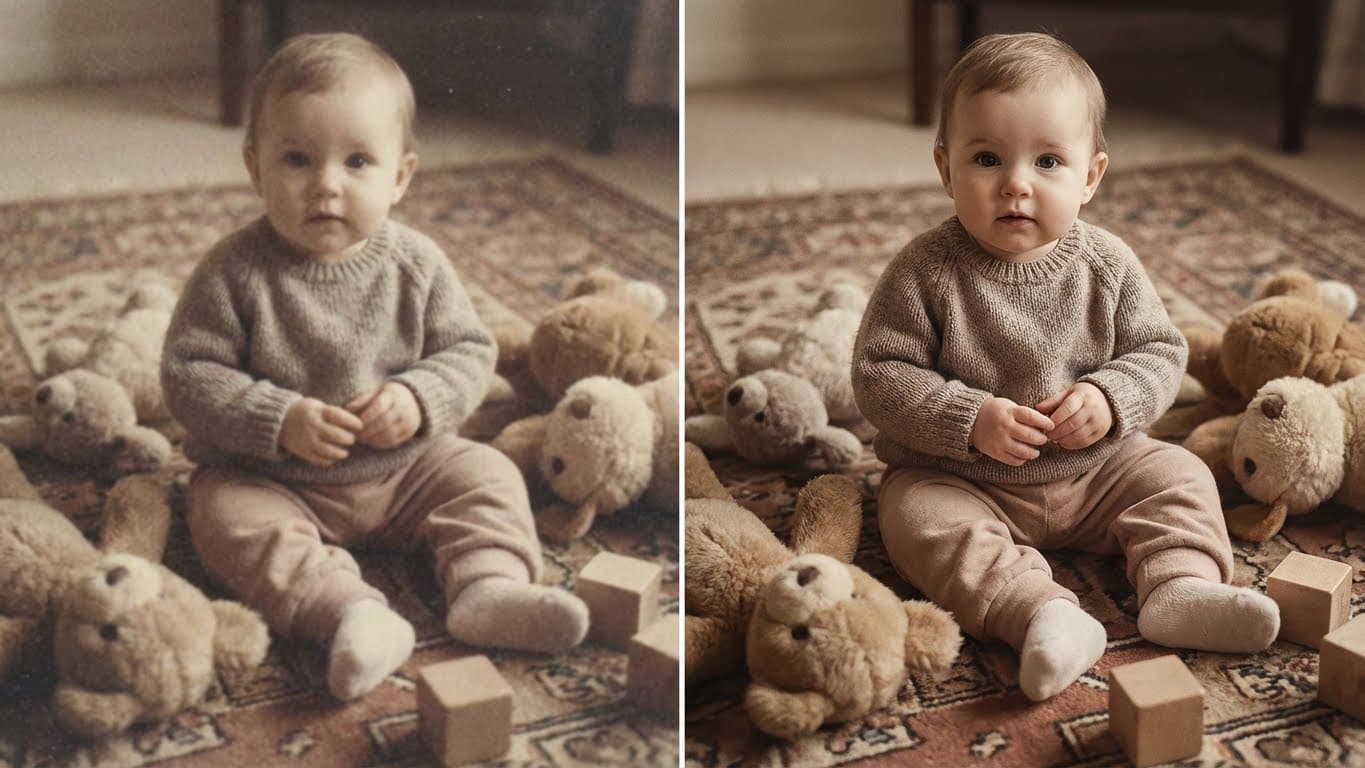
Many old photos are not torn or stained. They are just soft. Faces look smudged, text is unreadable and the whole image looks like it was taken through a dirty window. You zoom in to see a grandparent's eyes, and you get a blur. The good news is that most of this softness can be improved, and you can do it on your iPhone.
This guide explains why old photos look blurry, what simple sharpening can and cannot do, how to get the sharpest possible starting scan, and how to make old photos clearer with AI enhancement in RetroPic.
Why old photos look blurry
Blur in an old photo usually has more than one cause. Knowing the cause helps you choose the right fix.
- Soft lenses. Many family cameras from the 1940s to the 1980s, such as box cameras and early instant cameras, had simple plastic or single-element lenses. They were never very sharp, especially at the edges.
- Focus errors. Fixed-focus cameras were sharp only at one distance. Anyone closer than that is slightly out of focus.
- Camera shake and motion. Slow film needed long exposures. A small hand movement or a child who would not sit still leaves motion blur.
- Small prints. A 3×3 inch print simply holds less detail than a large one. When you scan it and zoom in, there is not much information to see.
- Copies of copies. A photo that was re-photographed or photocopied loses detail each time.
- Low-resolution scans. An old flatbed scan at 150 dpi or a quick phone snapshot of a print can lose more detail than the print itself.
- Faded contrast. When blacks turn gray and whites turn yellow, edges lose contrast, and the photo looks softer than it really is.
What a sharpen slider does (and why it is not enough)
Most photo editors, including the Photos app on iPhone, have a Sharpness or Definition slider. These tools find existing edges and increase the contrast along them. That makes edges look crisper, but it does not add any new detail.
On an old photo, sharpening has side effects:
- Grain and noise get louder. Film grain and paper texture are edges too, so they get sharpened along with the face.
- Halos appear. Strong sharpening creates bright and dark outlines around objects.
- Scratches become more visible. Every crack and dust spot gets more contrast.
A little sharpening can help a slightly soft photo. For a truly blurry photo, it usually makes things look worse.
How AI enhancement is different
AI enhancement models are trained on pairs of sharp and degraded images. They learn what fine detail usually looks like: eyelashes, hair strands, fabric weave, brick texture. When they see a blurry eye, they rebuild a plausible sharp eye instead of only boosting edge contrast.
The result is cleaner than sharpening: edges look natural, grain does not explode and faces gain real definition. RetroPic's Enhance Quality tool is tuned to keep the photo's original look. It improves sharpness and clarity without changing colors, expressions or composition.
AI enhancement still has limits. It cannot recover a license plate that is a gray smear, and it cannot turn a heavily shaken photo into a studio portrait. For mild and moderate blur, though, the difference is usually dramatic.
Step 1: Start with the sharpest scan you can make
Every bit of detail you capture in the scan is detail the AI does not have to guess. These steps take a minute and improve results more than anything else.
- Clean the print. Blow off dust with a soft brush or a blower. Do not wipe it with a wet cloth.
- Use bright, even daylight. More light means a faster shutter on your iPhone and less blur from your own hands.
- Hold the iPhone steady and parallel. Rest your elbows on the table, or put the phone on a stack of books.
- Get close. Fill the screen with the photo. Use the 2x lens if you have one.
- Tap to focus on the face, wait a second, then take the photo.
- Take two or three shots and keep the sharpest.
If the photo exists as a digital file (for example, an old scan from a relative), use the original file instead of a screenshot or a photo sent through a messenger. Messengers compress images and remove detail.
Step 2: Enhance the photo in RetroPic
Open RetroPic and tap Enhance Quality. Choose the scan. The AI improves:
- sharpness of edges and outlines,
- clarity of faces and eyes,
- fine textures such as hair and fabric,
- overall contrast that was lost to fading,
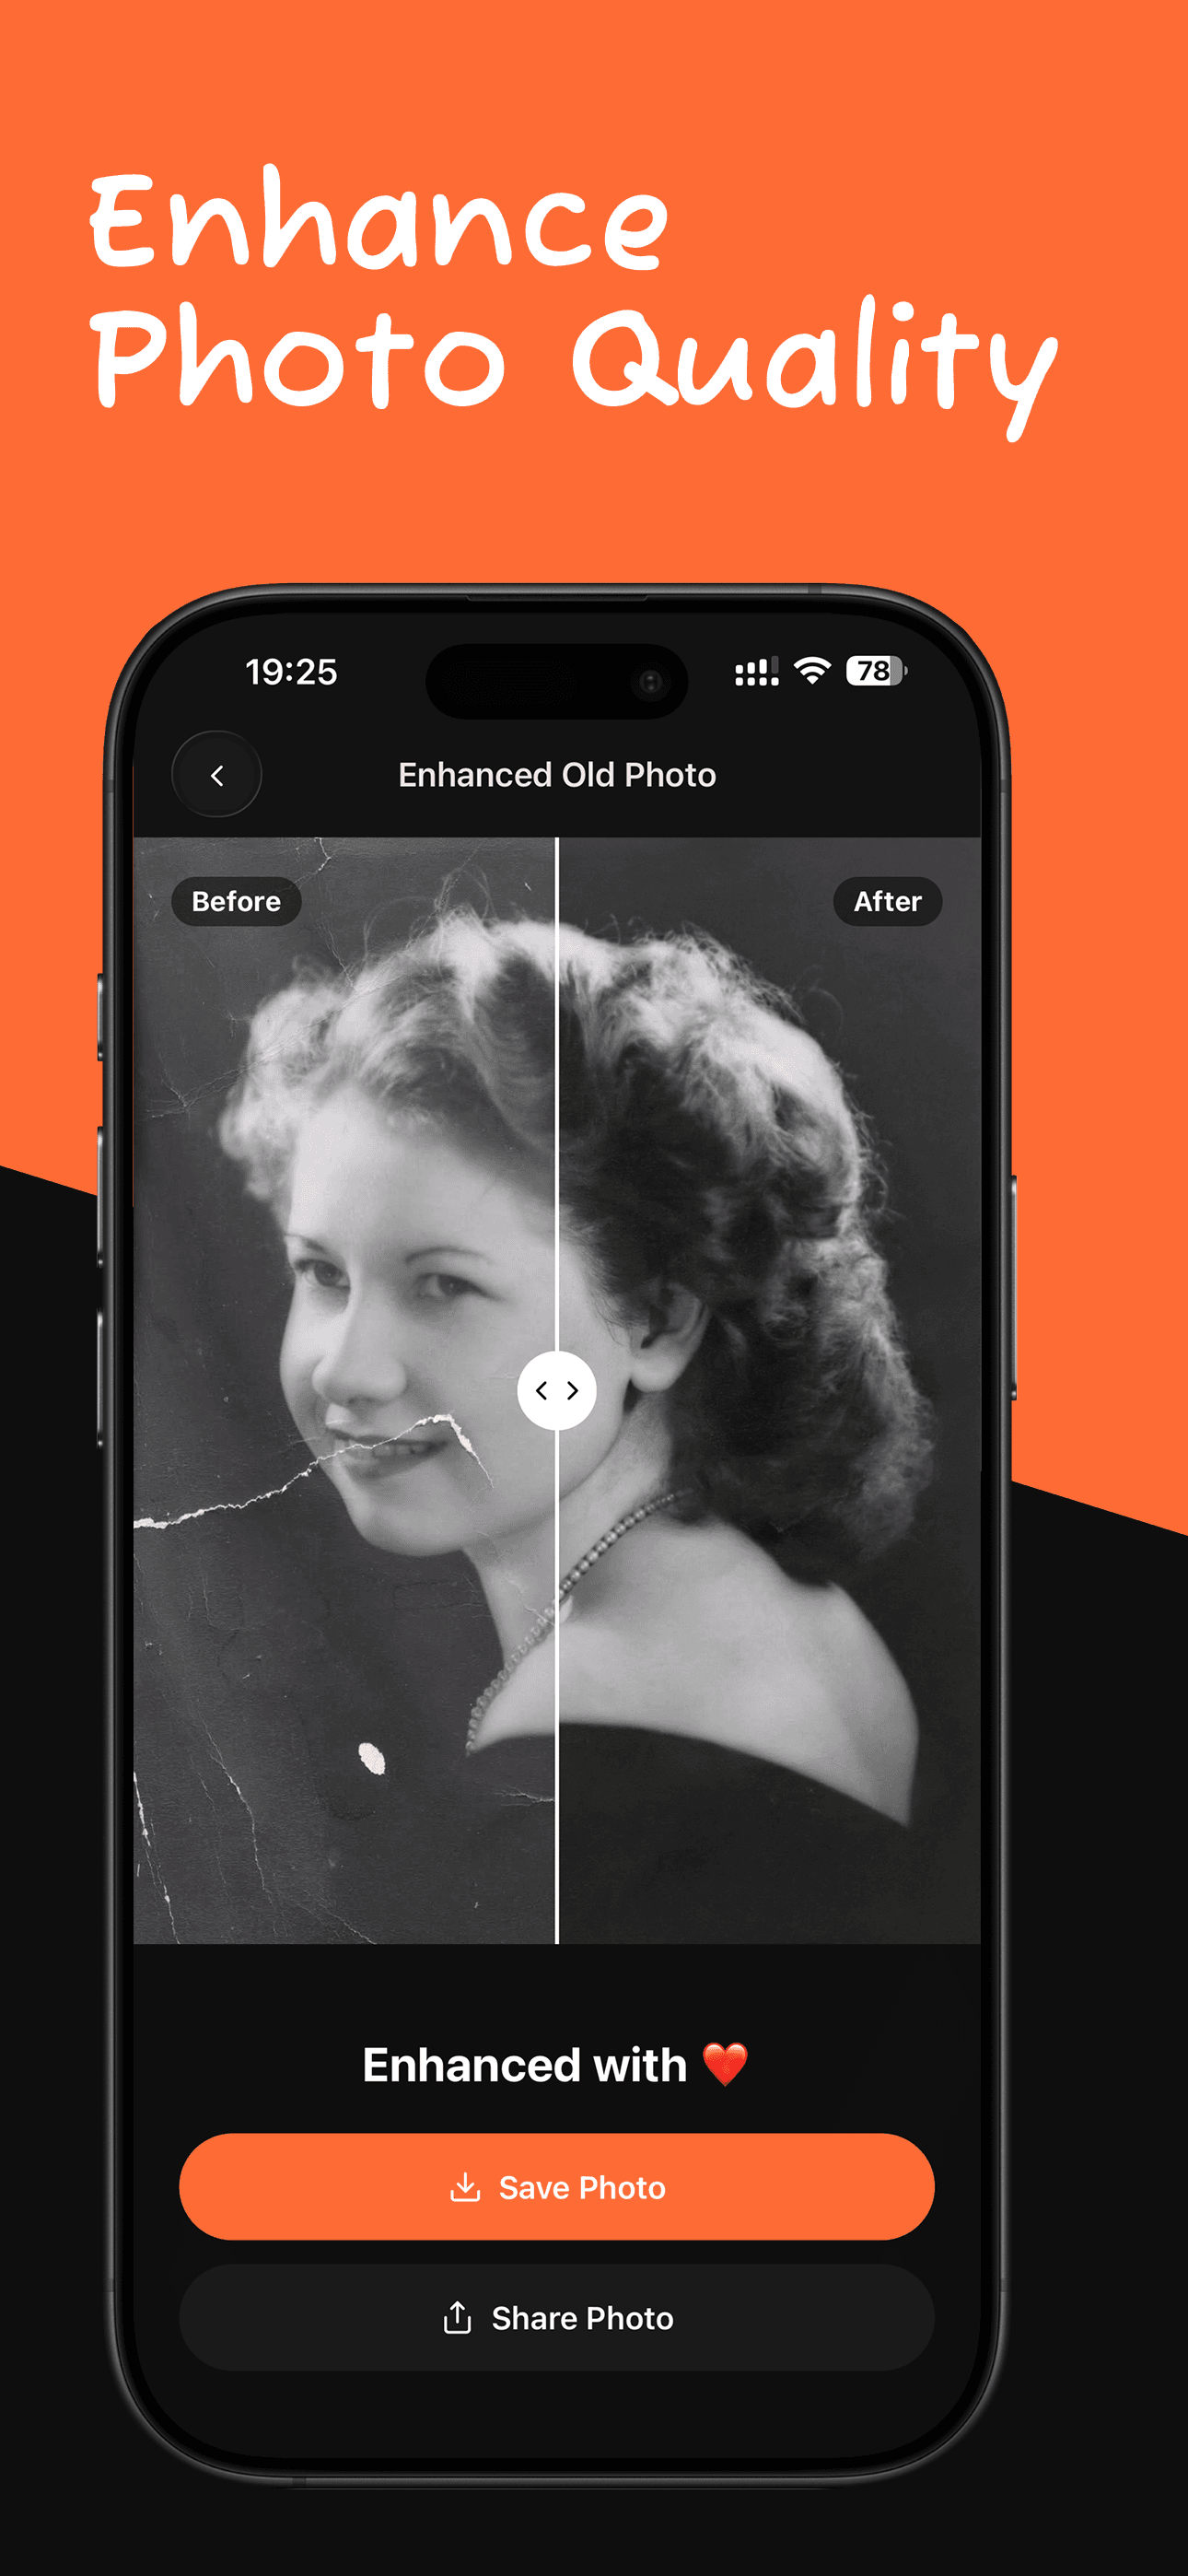
and it keeps the original appearance of the photo. Keep the app open until the result appears. Then compare with the before and after slider and tap Save Photo. The exact steps with screenshots are below this article.
Step 3: Pick the right next step
Depending on the photo, one tool may not be enough.
- Damaged and blurry? Run Restore Old Photo first to remove scratches and stains, then enhance the restored copy. See how to restore old photos on iPhone.
- Clear but too small? Use Enhance Faces to upscale the photo 4x for printing. See how to increase the resolution of an old photo.
- Black and white? After enhancing, try Colorize Photo. Colorization works better on sharp images. See how to colorize black and white photos.
How much can a blurry photo improve?
| Type of blur | Expected improvement |
|---|---|
| Slight softness from an old lens | Large: often looks like a modern scan |
| Low-resolution or compressed digital file | Large |
| Faded, low-contrast print | Large |
| Mild focus error | Clear improvement |
| Small motion blur | Clear improvement |
| Heavy motion blur (double outlines) | Partial: better, but not fully sharp |
| Tiny face in a big group photo | Partial: limited real detail to work with |
Fixing blur with the Photos app first (when it helps)
For a photo that is only slightly soft and mostly faded, the built-in Photos app can be a quick first pass. Open the photo, tap Edit, and try small changes to Contrast, Black Point and Definition. Restoring lost contrast often makes a photo look sharper without any sharpening at all. Stop before grain becomes visible, then run the AI enhancement on that copy. For heavier blur, skip the manual step and go straight to AI.
Tips for the best result
- Enhance before you crop tightly. The AI uses the context around a face to understand it. Crop after enhancing if you want a close portrait.
- Do not sharpen before enhancing. Sharpening adds halos and grain that the AI may treat as real detail.
- Compare at 100% zoom. Small improvements in eyes and hair are easier to see when you zoom in.
- Keep the original. Enhancement is an interpretation of missing detail. Keep the unedited scan as a reference.
Summary
Old photos look blurry because of soft lenses, small prints, motion and fading. A sharpen slider only boosts existing edges and makes grain worse. To make an old photo clearer, make the sharpest scan you can, then use AI enhancement that rebuilds fine detail while it keeps the original look. In RetroPic, that is one tap on Enhance Quality.
How to do it in RetroPic
- 1
Make the sharpest possible scan
Hold your iPhone steady, use daylight, and tap the screen to focus on the photo before you take the scan.
- 2
Open RetroPic and tap Enhance Quality
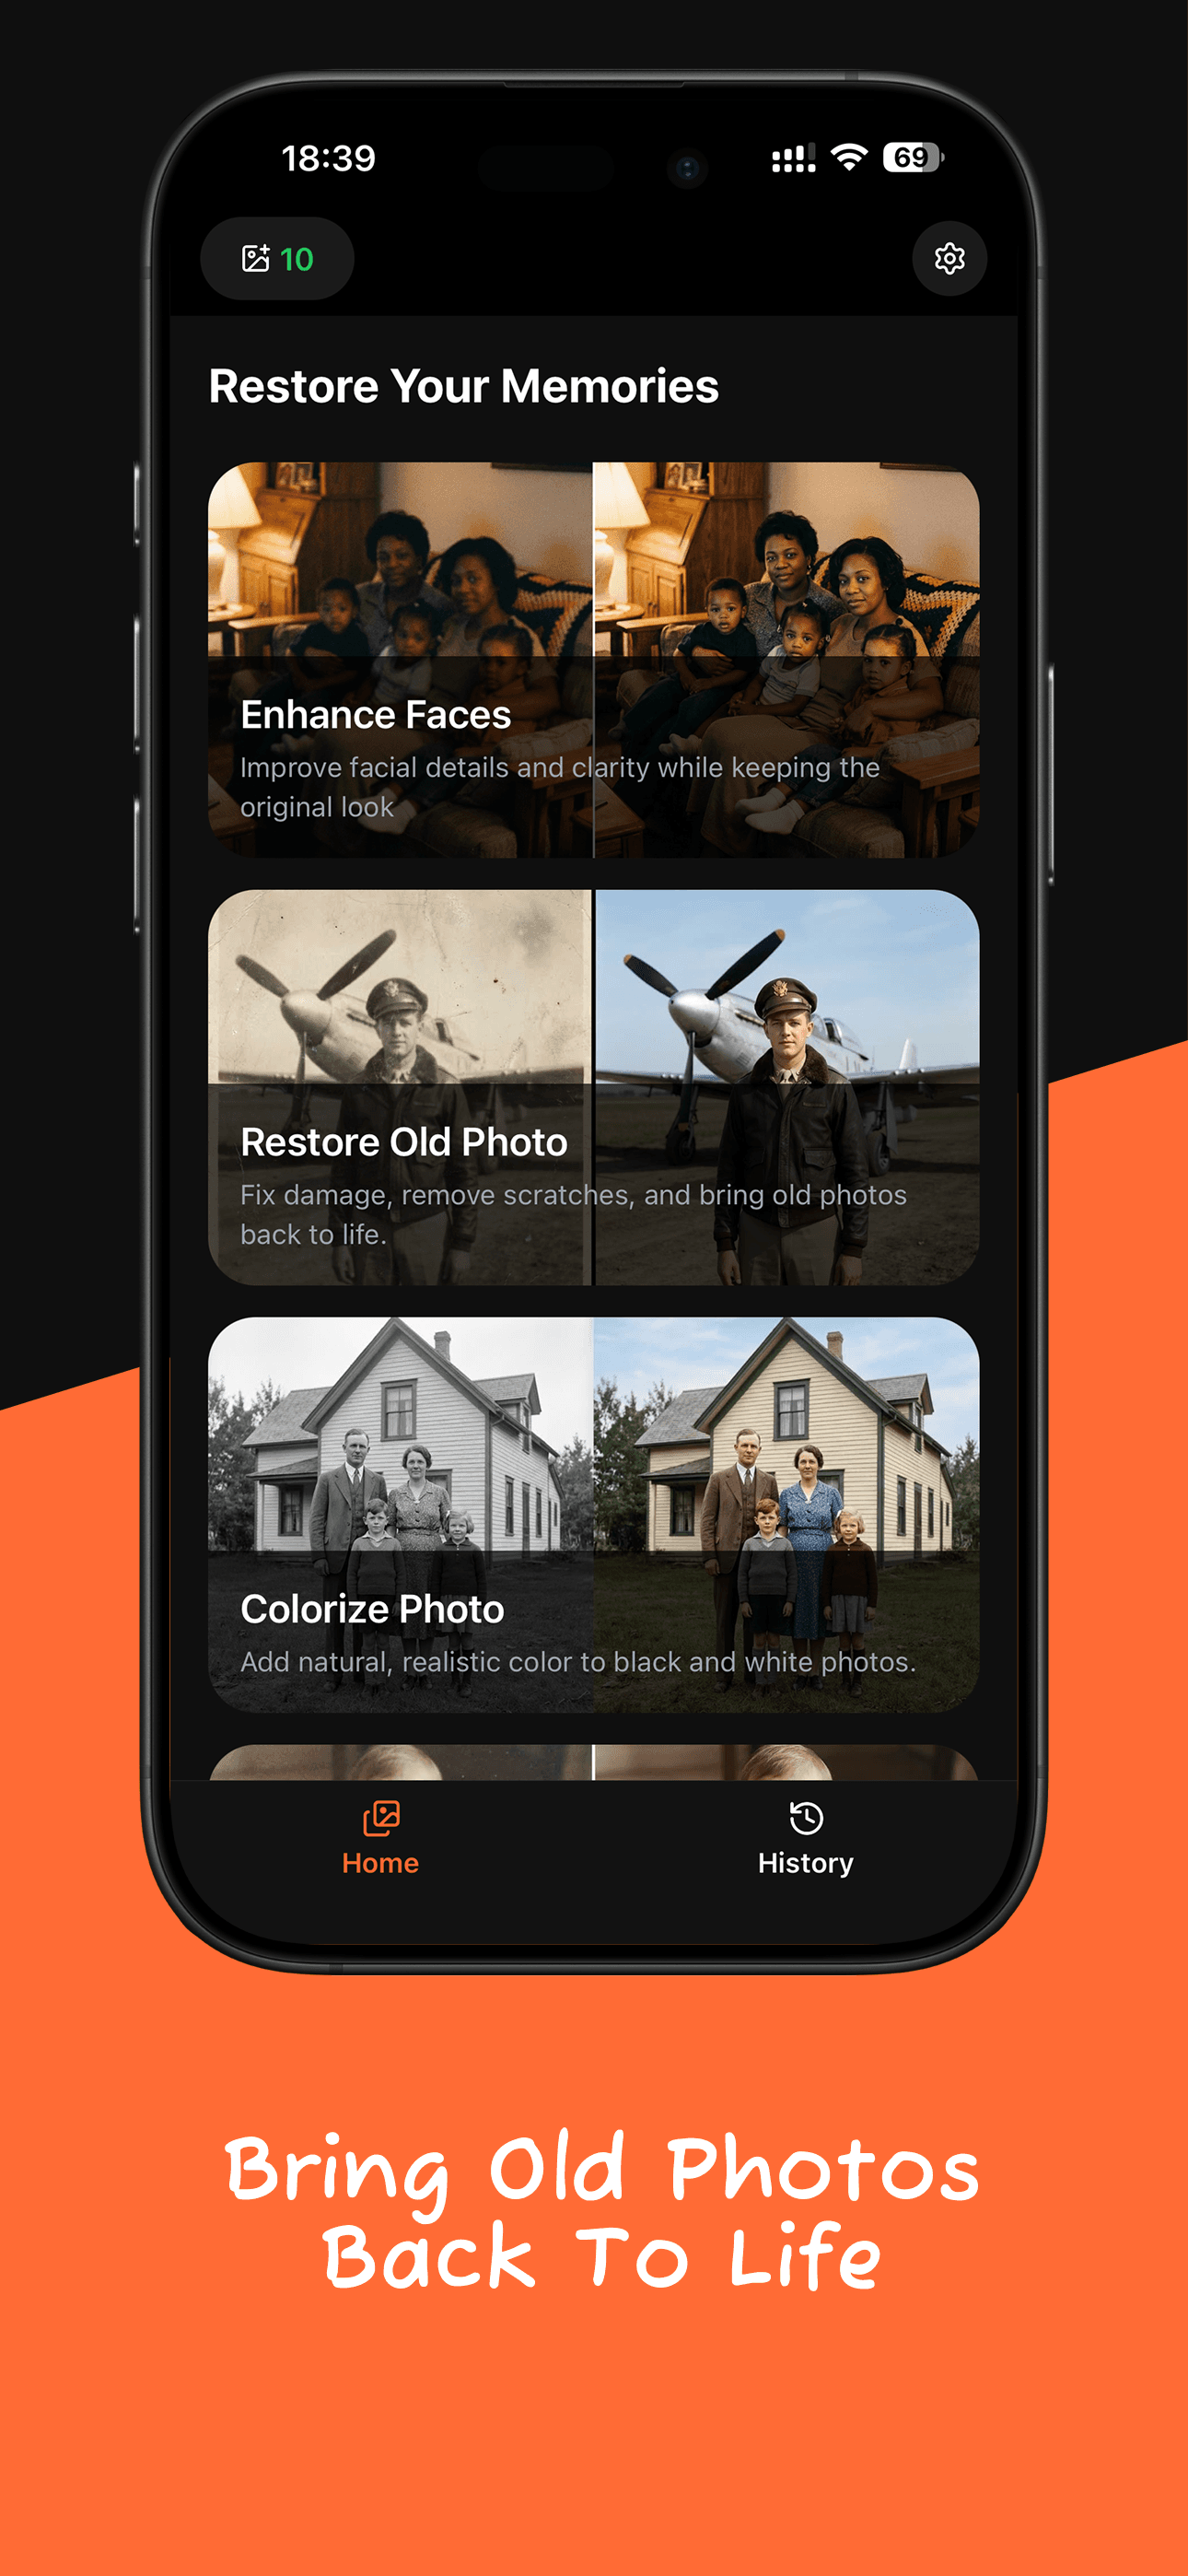
On the home screen, tap Enhance Quality and choose the blurry photo.
- 3
Let the AI rebuild detail
RetroPic improves sharpness and clarity without changing faces or colors. Keep the app open until it finishes.
- 4
Compare and save
Drag the slider to check the edges and faces, then tap Save Photo.

FAQ
How to Make Old Photos Clearer: FAQ
Can a very blurry photo be fixed?
Mild softness and focus blur improve a lot. Heavy motion blur improves too, but the AI cannot recover detail that the camera never captured, so the result may not be perfectly sharp.
What is the difference between sharpening and AI enhancement?
A sharpen slider only increases contrast along existing edges, which also boosts grain. AI enhancement predicts the missing fine detail, so edges look clean instead of crunchy.
Why do old photos look blurry?
Old cameras had soft lenses and slow film, prints fade, and many family photos are small prints scanned at low resolution. Each step loses detail.
Related guides
How to Increase the Resolution of an Old Photo
Upscale a small old photo 4x for printing or framing. What resolution you need for print, and how to upscale and restore faces on your iPhone.
How to Restore Old Photos on iPhone
Fix scratched, cracked and faded old photos on your iPhone in minutes. How to scan a print, restore it with AI, and save a clean copy.

Bring your old photos back to life
Download RetroPic for iPhone. Your first photo is free.
Scan with your iPhone camera