How to Restore Water Damaged Photos
Updated
Quick answer
To restore water damaged photos, first rescue the prints: rinse off dirt with cool clean water, never pull stuck photos apart, and air-dry them face up. When they are dry, scan them and use an AI app such as RetroPic to reduce stains, color shifts and fading.
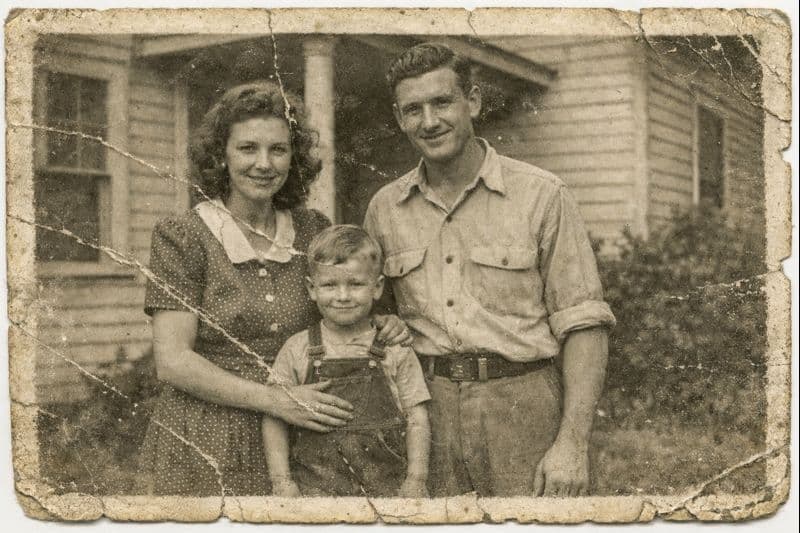
A burst pipe, a flooded basement or a leaking roof can soak a box of family photos in minutes. Wet photos stick together, colors run and mold can start within days. It feels hopeless, but many water damaged photos can be saved, first physically and then digitally.
This guide covers what to do right away with wet photos, how to dry them safely, what to do with photos that already dried with damage, and how to repair stains and fading on your iPhone.
Valuable or historic photos? If a photo is rare, irreplaceable or part of an archive, contact a professional photo conservator before you try anything. This guide is for typical family prints.
How water damages a photo
A photographic print is a thin image layer (the emulsion) on top of paper or plastic-coated paper. Water affects each part differently:
- The emulsion softens and becomes sticky. Wet prints stick to each other, to glass and to album pages. If they dry while touching, the image layer can tear off.
- Dyes and pigments can bleed or shift. Color prints may develop color casts or blotches.
- Paper swells and curls. As it dries unevenly, it creates waves and cracks.
- Dirty water leaves stains and tide lines. Flood water carries mud, minerals and chemicals.
- Mold grows quickly. Warm, damp conditions can start mold within about two days.
Time is the main factor. The sooner you act, the more of the image you keep.
Step 1: Rescue wet photos (first 48 hours)
If your photos are still wet, focus on the physical prints first. You can scan and repair them later.
- Handle prints by the edges. Wet emulsion is fragile. Do not touch the image surface.
- Do not pull stuck photos apart. If prints are stuck together, soak them in cool, clean water until they separate on their own. If they do not separate, leave them for a professional.
- Rinse off dirt. Gently dip each photo in a tray of cool, clean water. Distilled water is ideal. Do not rub.
- Remove photos from frames and albums while they are still wet, if you can do it without force. Photos dried against glass often stick to it permanently.
- Air-dry face up. Lay each print on a clean towel, blotting paper or a drying rack. Do not stack them. You can also hang them by a corner with a clothespin.
- No heat. Do not use a hair dryer, a heater, an oven or direct sunlight. Heat can blister and crack the emulsion.
- Keep air moving. Use a fan in the room (not pointed directly at the photos) and keep the room cool.
If you cannot dry them in time
If you have too many photos to dry within a day or two, put them in sealed freezer bags, with wax paper between prints, and freeze them. Freezing stops mold and gives you time. Later, thaw a small batch and dry it as described above.
What about photos in albums and frames?
Albums with plastic sleeves: take the photos out while everything is wet, if they slide out easily. If they are stuck to the page, dry the whole page and scan it with the photo in place. A scan of a stuck photo is far better than a torn one.
"Magnetic" albums with sticky pages: these are hard to separate even when dry. Scan the photos on the page first, then decide whether to try removing them.
Framed photos: remove the back of the frame and lift the photo out while it is still wet. If it has already dried and stuck to the glass, do not pull it. Scan it through the glass, and ask a conservator if the original matters.
Step 2: Flatten and clean the dry prints
After drying, prints are often curled and wavy.
- Place each dry print between sheets of clean paper and put a few heavy books on top for a few days.
- Do not iron photos.
- Brush away dried dirt with a soft, clean brush.
- Do not try to wash away stains on a dry print, and do not use cleaning products. The image layer is fragile. Stains are much easier to fix on the scan.
Step 3: Scan the damaged photo
Once a print is dry and flat, make a good digital copy.
- Use soft, even daylight without flash. Wavy areas reflect light, so try a few angles to avoid glare.
- Hold your iPhone parallel to the photo and fill the frame.
- If the print is still wavy, use the Scan Documents feature in the Notes app. It corrects perspective automatically.
- Scan both good and bad photos now. Water damage can continue to develop over time.
Step 4: Repair stains and fading with AI
Open RetroPic and tap Restore Old Photo. Choose the scan. The AI works on the typical signs of water damage:
- tide lines and water stains, the brown or yellow rings left as water dried,
- color shifts and blotches where dyes moved,
- fading in areas where the image became lighter,
- cracks and scratches from curling and handling,
- spots and specks from dirt and minerals.
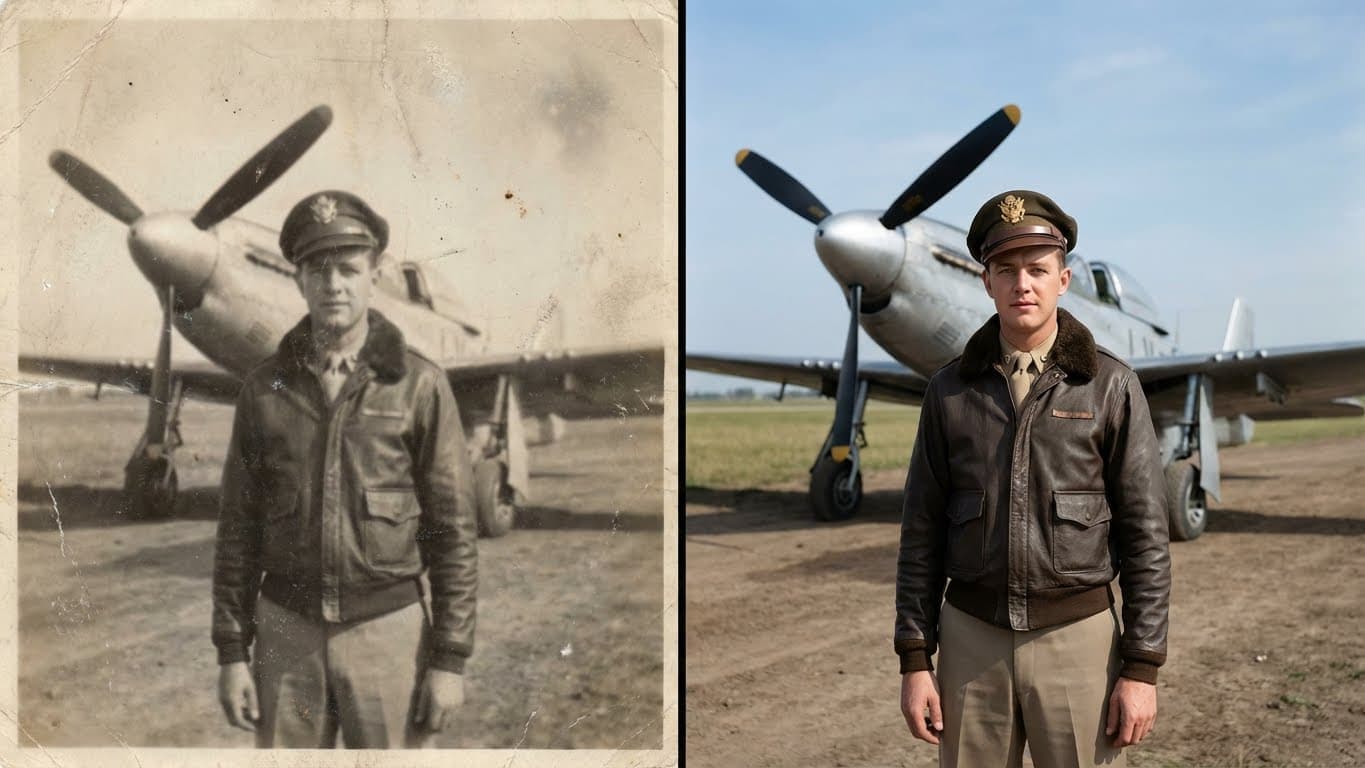
Compare the result with the before and after slider, then tap Save Photo. The exact steps with screenshots are below this article.
When to use another tool after restoring
- If the restored photo is still soft, run Enhance Quality. See how to make old photos clearer.
- Restore Old Photo adds natural color to black and white photos. To keep a black and white look, use Enhance Quality instead. See how to colorize black and white photos for more about color.
What can and cannot be recovered
| Damage | Digital repair result |
|---|---|
| Tide lines, light stains | Usually removed |
| Yellowing and color cast | Usually corrected |
| Faded areas with visible image | Usually improved well |
| Cracks from curling | Usually repaired |
| Mold spots (after cleaning) | Often reduced |
| Areas where the emulsion is gone (white paper shows) | Approximated, not recovered |
| Faces partly washed away | Approximated; may not match the real person |
AI can only rebuild what it can infer from the rest of the photo. A washed-out corner of sky is easy. Half of a face is a guess, and you should judge whether it looks like the person you remember.
Protect your photos from the next flood
- Store photo boxes off the floor, on shelves at least a few inches high, and never directly under pipes.
- Use waterproof plastic bins with lids for prints in basements and garages.
- Avoid attics and basements for long-term storage when you can.
- Scan important photos now and keep the files in cloud storage. A digital copy is the best insurance.
Summary
To restore water damaged photos, act fast: rinse wet prints in cool clean water, never force stuck photos apart, and air-dry them face up without heat. Freeze photos you cannot dry within a day or two. When the prints are dry and flat, scan them and use an AI restoration tool to remove stains, tide lines and fading. In RetroPic, that is one tap on Restore Old Photo.
How to do it in RetroPic
- 1
Dry the prints safely
Air-dry each photo face up on a clean towel or paper, away from heat and direct sun. Do not stack wet photos.
- 2
Scan the dry photo
Photograph the flat, dry print in soft daylight. Avoid glare on wavy or glossy areas.
- 3
Open RetroPic and tap Restore Old Photo
Choose the scan. The AI reduces water stains, tide lines, color shifts and fading. Black and white photos also get natural color.

- 4
Compare and save
Drag the slider to check the result, then tap Save Photo. Keep the original print stored flat and dry.


FAQ
How to Restore Water Damaged Photos: FAQ
Can water damaged photos be restored?
Often, yes, especially when you act quickly. The physical print can be saved by careful drying, and a scan can be repaired digitally. Areas where the image fully washed away can only be approximated.
Should I dry wet photos before scanning them?
Yes. Scan only fully dry, flat photos. If you cannot dry them within a day or two, seal them in a freezer bag and freeze them to stop mold until you can.
Can stains be removed from old photos?
On the scan, yes. AI restoration reduces water stains, tide lines and yellowing. Do not try to scrub stains off the physical print, because the image layer is fragile.
Related guides
How to Restore Old Photos on iPhone
Fix scratched, cracked and faded old photos on your iPhone in minutes. How to scan a print, restore it with AI, and save a clean copy.
How to Make Old Photos Clearer
Why old photos look soft and blurry, what the sharpen slider can and cannot do, and how to make an old photo clearer with AI on your iPhone.

Bring your old photos back to life
Download RetroPic for iPhone. Your first photo is free.
Scan with your iPhone camera