How to Restore Old Photos on iPhone
Updated
Quick answer
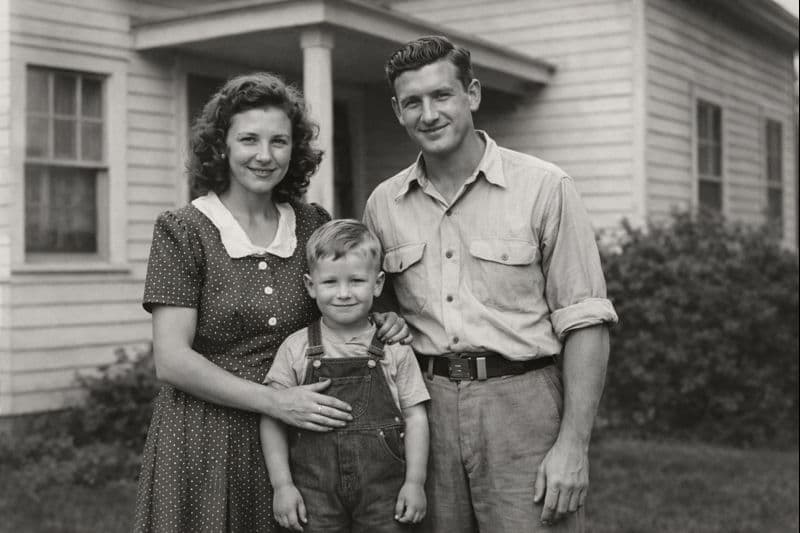
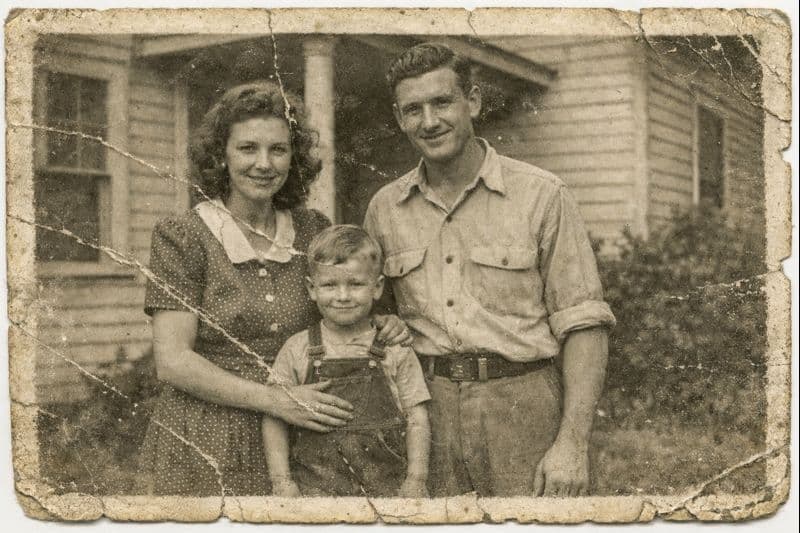
To restore an old photo on iPhone, scan the print in soft, even light, open an AI restoration app such as RetroPic, choose Restore Old Photo and save the result. The AI removes scratches, cracks, stains and fading in one tap, and keeps the faces and expressions of the original.
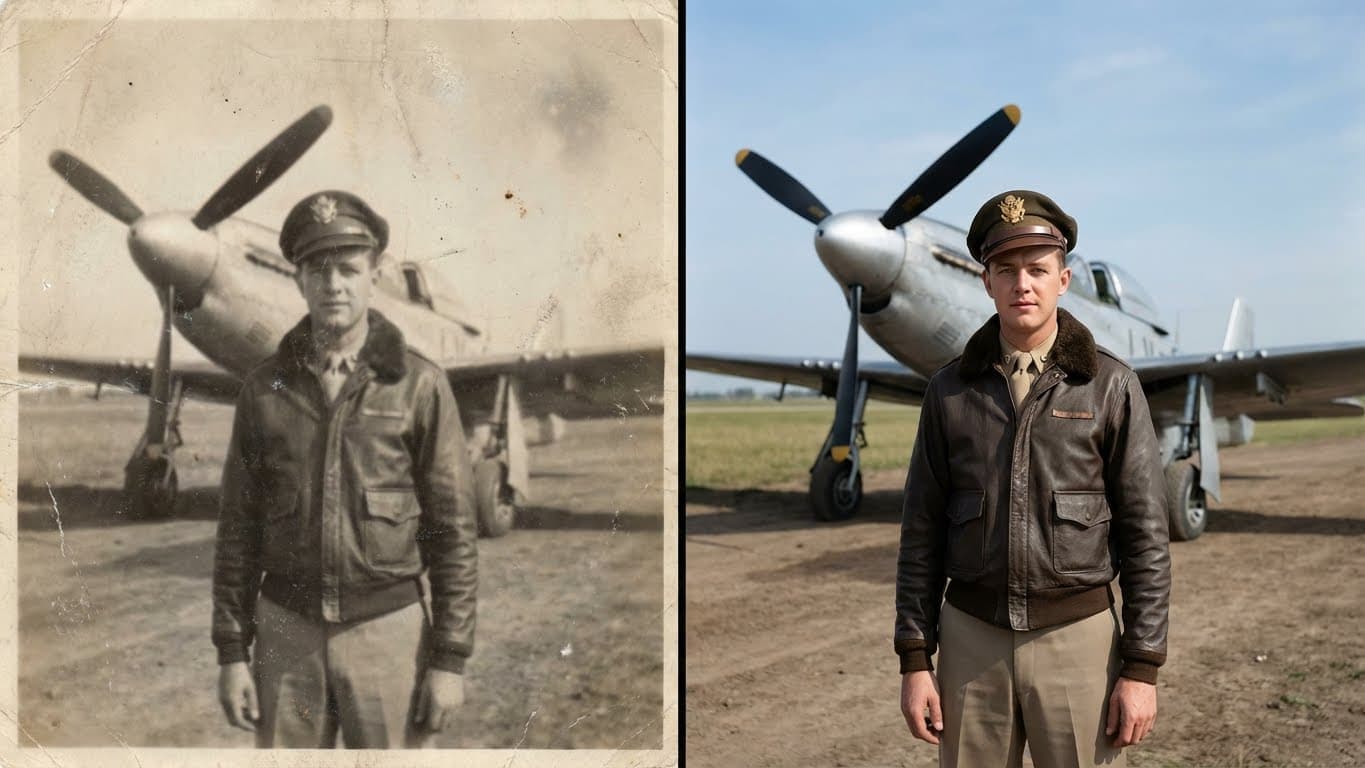
Old photos are often the only record of a person, a house or a moment. A shoebox of prints from the 1950s does not stay the same, though. Paper bends, emulsion cracks, colors shift to yellow and magenta, and every move between albums adds a new scratch. The good news: you do not need a scanner, a computer or Photoshop to fix most of this. Your iPhone is enough.
This guide explains why old photos get damaged, what you can fix by hand, where manual editing hits its limits, and how to restore an old photo on iPhone with AI in a few taps.
Looking for deleted photos? This guide is about repairing damaged prints and scans. If you want to recover photos you deleted from your iPhone, check Photos → Albums → Recently Deleted first. Deleted items stay there for up to 30 days.
Why old photos get damaged
Most family photos from the 20th century are silver-gelatin or chromogenic (color) prints. Both are layers of light-sensitive material on paper. Over decades, these layers react to light, air, heat and handling.
- Scratches and scuffs come from sliding prints against each other or against album pages. They cut into the top layer and show as thin white or dark lines.
- Cracks appear when the paper bends. The emulsion is less flexible than the paper, so it splits along the fold.
- Fading happens because dyes break down in light. In color prints, the cyan dye often fades first, so the whole photo turns red or orange.
- Yellowing and stains come from old glue, acidic album pages, cigarette smoke and humidity.
- Dust, mold spots and silvering are common on prints kept in basements and attics.
- Tears and missing corners are the result of handling, frames and pets.
Each kind of damage needs a different fix. A scratch is a missing line of detail. Fading is a global color problem. A tear is missing content. Good restoration handles all three at once.
Your options without an app
You can restore old photos in several ways. Each has a real cost.
Professional restoration service
A photo restorer scans the print at high resolution and repairs it by hand in Photoshop. The quality can be excellent, especially for heavy damage. The downside is time and price: a single photo often takes days and costs more than a restaurant dinner. For a whole album, that adds up quickly.
Photoshop or another desktop editor
If you have the skills, you can use the Spot Healing Brush, the Clone Stamp and curves adjustments. This works, but a single badly scratched portrait can take one to three hours. Faces are the hardest part: a few wrong clone strokes make a person look like someone else.
The built-in Photos app on iPhone
The Edit tools in Photos can help with color. Exposure, Contrast, Warmth and Saturation sliders fix a faded or yellow cast. On iPhones with Apple Intelligence, the Clean Up tool can remove a few small spots. What Photos cannot do is repair a network of cracks, rebuild a scratched eye or restore lost detail in a face.
AI restoration apps
AI models are trained on millions of photos. They learn what skin, hair, fabric, brick and sky look like, so they can fill a scratch with plausible detail instead of a smear. This is how RetroPic repairs a whole photo in one step. AI restoration is the fastest option by far, and it handles faces much better than manual cloning by a beginner.
Step 1: Get a good scan with your iPhone
The result can only be as good as the input. A blurry or glare-covered scan limits what any tool can do. These tips matter more than any setting:
- Take the print out of the frame or plastic sleeve. Glass and plastic add reflections.
- Use soft daylight. Place the photo on a table near a window, out of direct sun. Turn off the flash.
- Hold the iPhone parallel to the photo. If the phone is tilted, the photo becomes a trapezoid and edges go soft.
- Fill the frame. Move close enough that the photo fills most of the screen. Use the 2x lens if your iPhone has one, to avoid distortion.
- Tap to focus on a face before you take the shot.
- Crop the table away in the Photos app before you restore.
For curled prints, place them under a heavy book for a day before scanning. For photos in albums, scan them in place if removing them would tear the paper.
Another option is the Notes app: tap the camera icon, then Scan Documents. It corrects perspective automatically, which helps for photos you cannot lay perfectly flat.
Step 2: Restore the photo with AI
When the scan is ready, open RetroPic and choose Restore Old Photo. The AI processes the whole image at once:
- it fills scratches and cracks with matching texture,
- it removes dust, spots and stains,
- it corrects fading and color casts,
- it adds natural color if the photo is black and white,
- it improves clarity while it keeps the original faces and expressions.
You do not choose brushes or masks. You only pick the photo. The exact steps are shown below this article, with screenshots.
What to check in the result
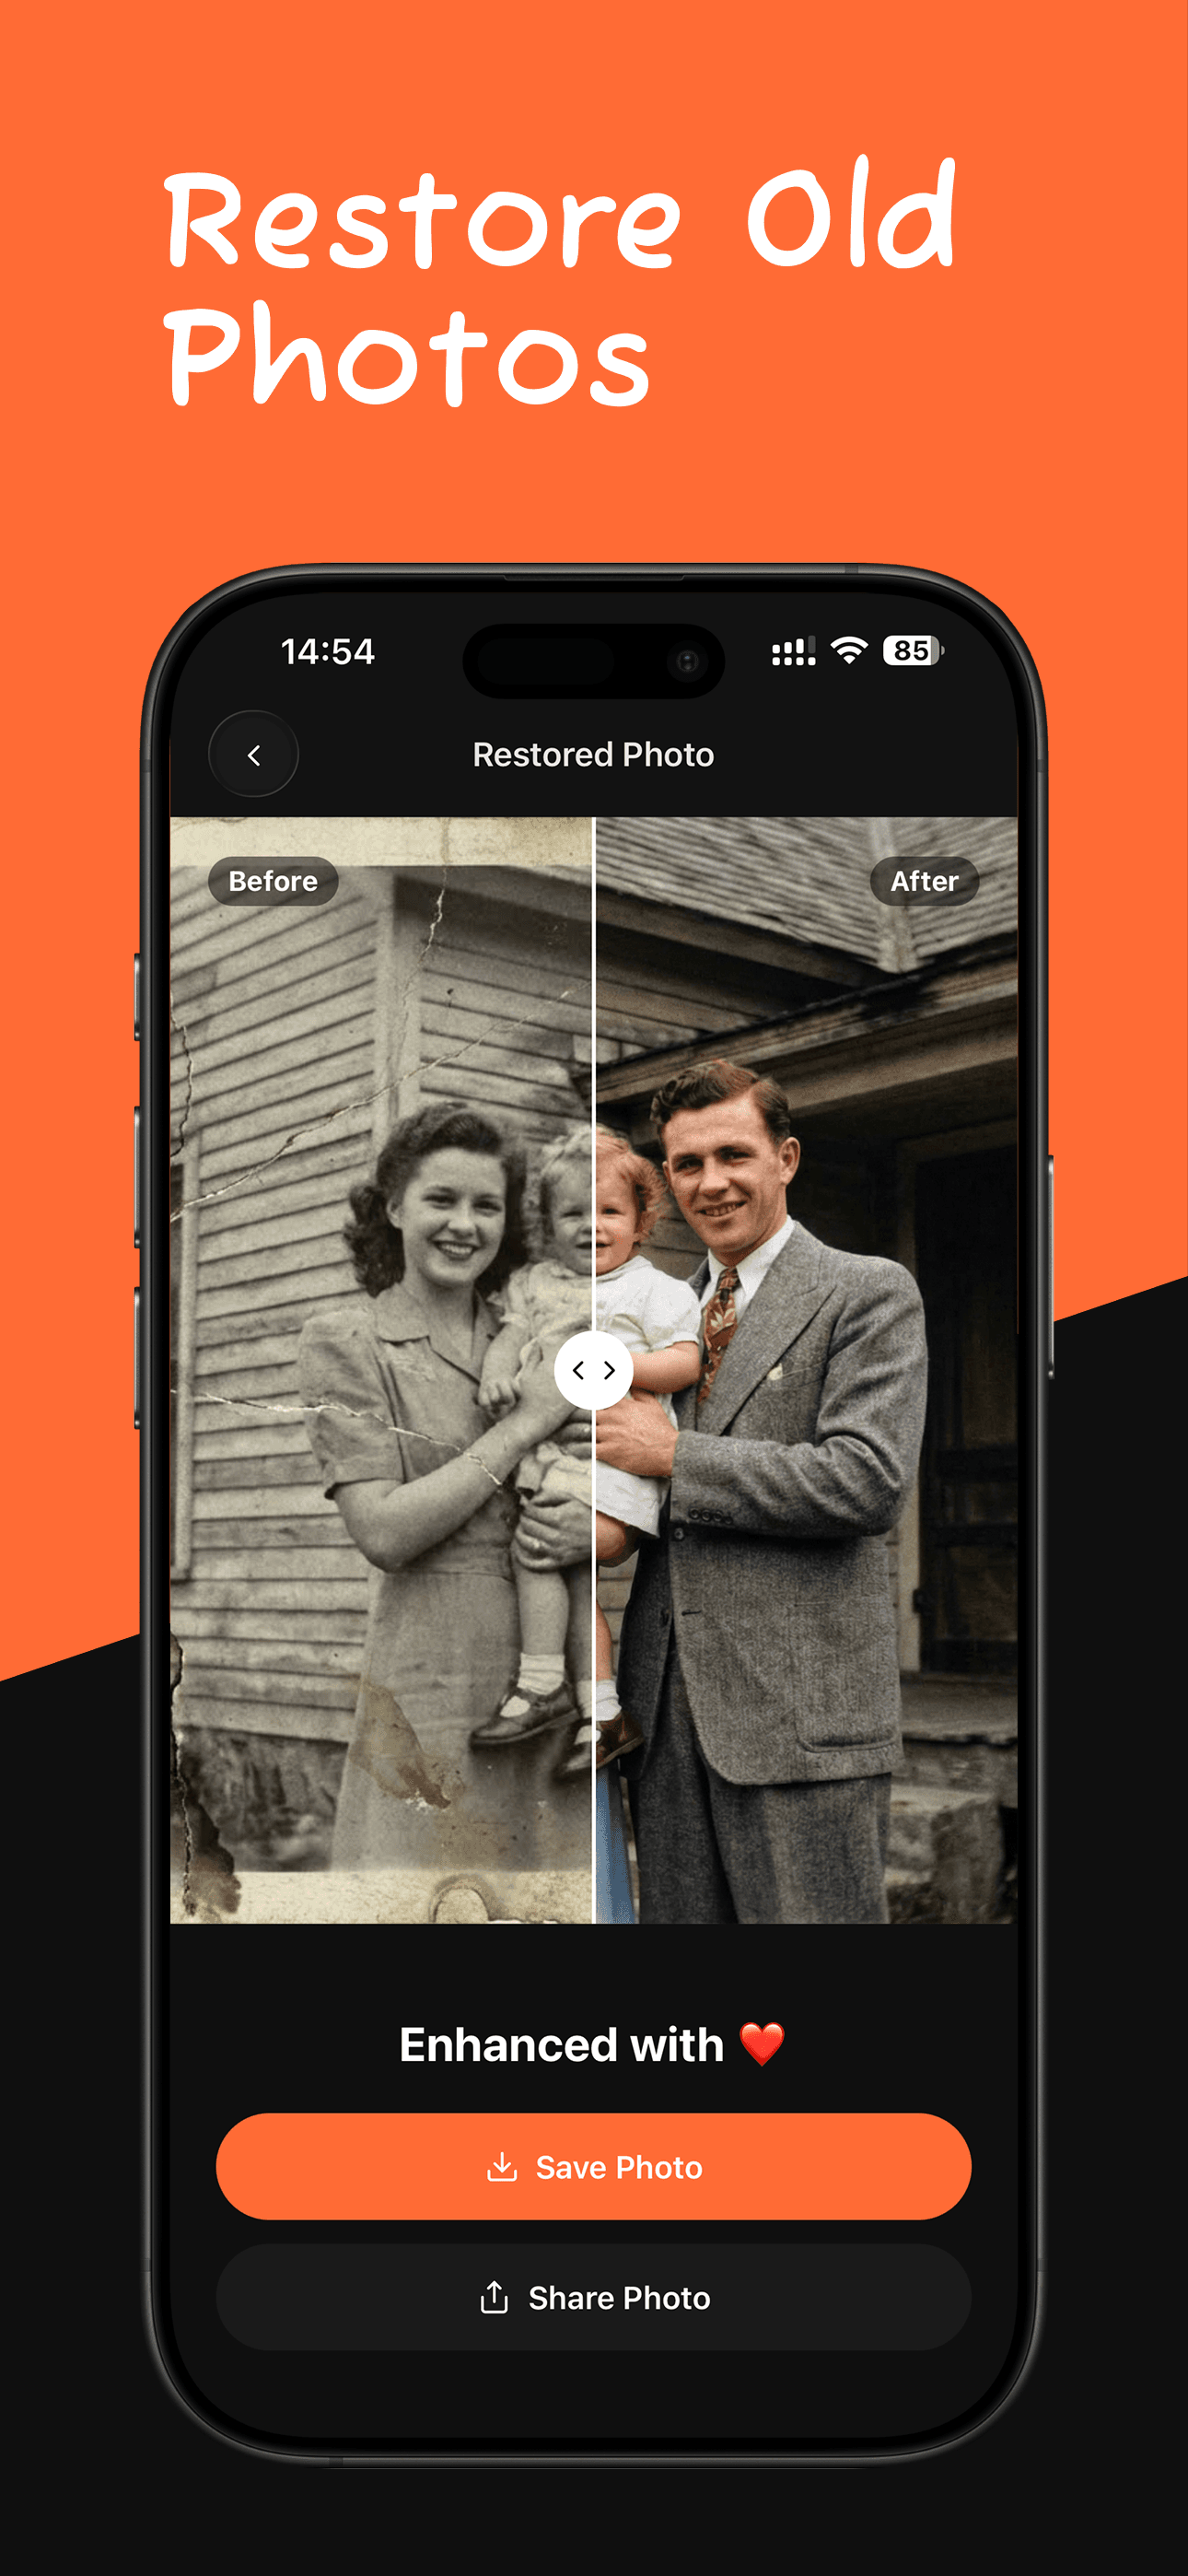
Use the before and after slider and look at three things:
- Faces. Eyes, mouth and hairline should look like the same person. Zoom in.
- Edges. Window frames, collars and fences should be straight and clean, not wavy.
- Text and small details. Signs, house numbers and jewelry are hard for any AI. Check that nothing important was invented.
If one part looks wrong, try a better scan of the same print. A sharper input usually fixes most problems.
Step 3: Add color or more detail (optional)
Restoration is often the first step, not the last.
- Restore Old Photo also adds natural color to black and white photos. If you want to keep the black and white look, use Enhance Quality instead. If your photo is clean and you only want color, use Colorize Photo. See how to colorize black and white photos.
- If the photo is clean but soft, run Enhance Quality next. See how to make old photos clearer.
- If you want to print it large, use Enhance Faces to upscale it 4x. See how to increase the resolution of an old photo.
Always work on a copy and keep the original scan. You can come back to it later.
What AI restoration can and cannot do
AI restoration is powerful, but it is not magic. Knowing its limits helps you set expectations for a relative who asked you to "fix grandma's photo".
| Damage | Result with AI |
|---|---|
| Thin scratches and cracks | Usually removed completely |
| Dust, spots, light stains | Usually removed completely |
| Fading and color cast | Usually corrected well |
| Soft focus | Clearly improved |
| Small tears | Usually repaired |
| Large missing areas (a missing corner, half a face) | Approximated, not recovered |
| Heavy water damage where the image is gone | Approximated, not recovered |
When a part of the image no longer exists, any tool, human or AI, can only guess. For a missing corner of sky that is fine. For a missing half of a face, the guess may not look like the real person.
How to keep the original print safe
Once you have a digital copy, protect the physical photo:
- Store prints in acid-free sleeves or boxes, not in old "magnetic" albums with sticky pages.
- Keep them in a dry room with a stable temperature. Basements and attics are the worst places.
- Do not write on the back with a ballpoint pen. Use a soft pencil.
- Back up the scans and the restored copies to iCloud or another cloud service.
Summary
Restoring old photos on iPhone takes three steps: make a clean scan in soft light, run the scan through an AI restoration tool, and check the result with a before and after comparison. Manual editing still has a place for museum-grade work, but for family photos, AI restoration gives a clean result in a minute instead of an evening in Photoshop.
How to do it in RetroPic
- 1
Scan the print
Lay the photo flat near a window, hold your iPhone straight above it and take a sharp photo. Crop away the table around it.
- 2
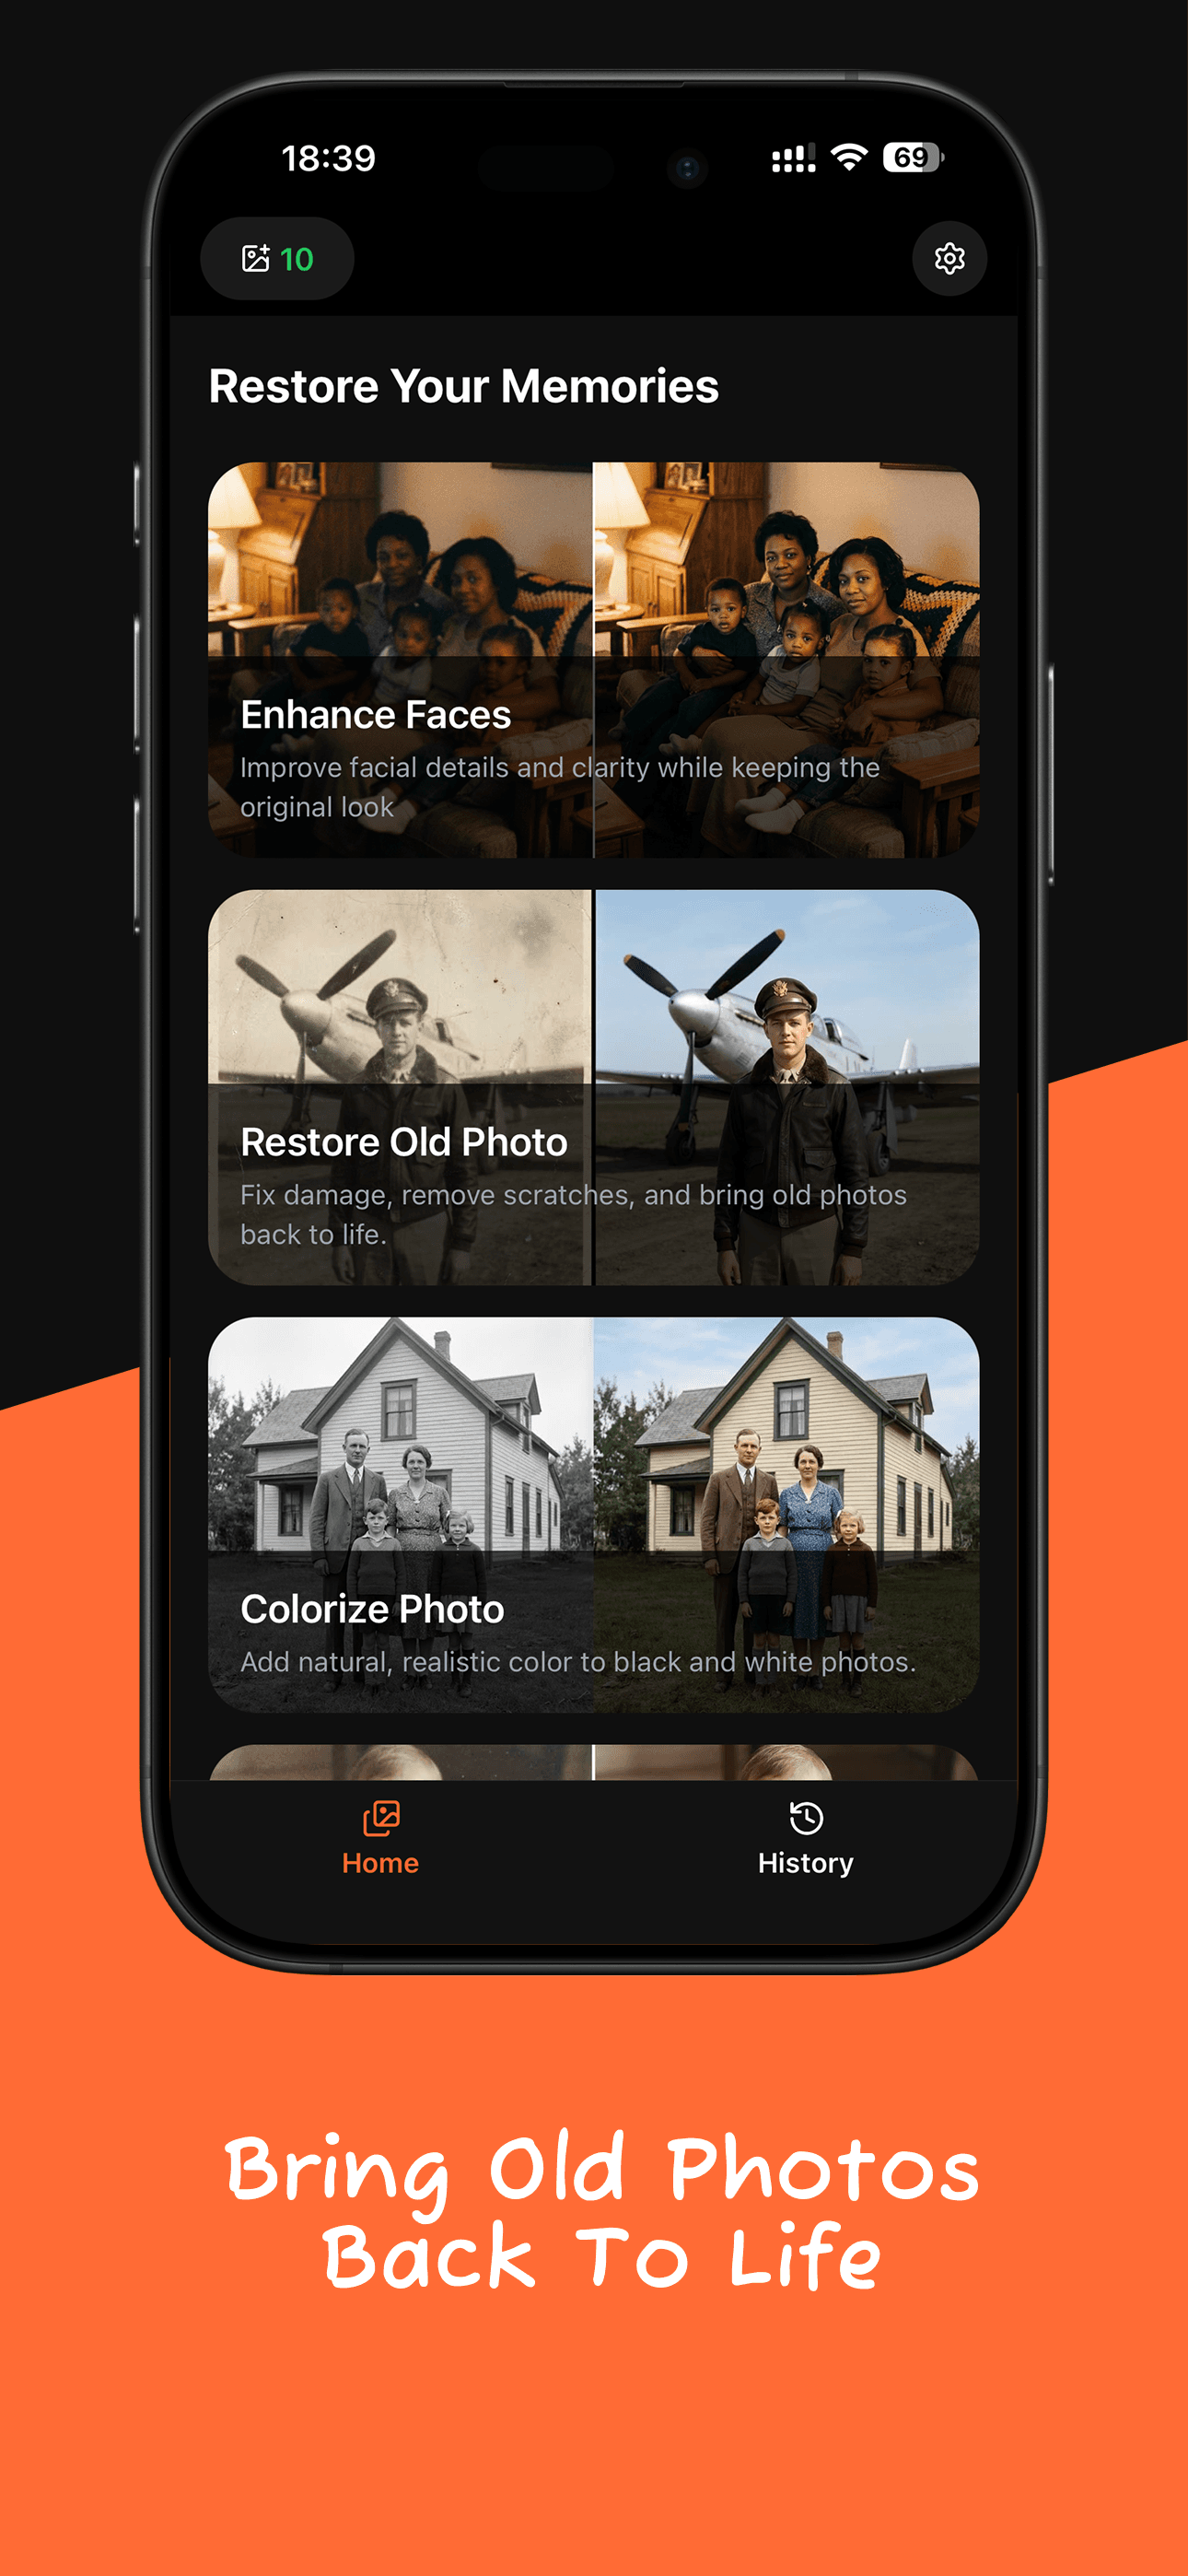
Open RetroPic and tap Restore Old Photo
On the home screen, tap Restore Old Photo and pick the scan from your library.
- 3
Wait for the AI to finish
RetroPic repairs scratches, cracks, stains and faded areas, and adds natural color to black and white photos. Keep the app open until the result appears.
- 4
Compare and save
Drag the slider to compare before and after, then tap Save Photo to keep the restored copy in Photos.

FAQ
How to Restore Old Photos on iPhone: FAQ
Can AI restore old photos?
Yes. Modern AI models remove scratches, cracks, dust and fading, and rebuild missing detail in faces and clothing. They work best when the scan is sharp and the main subject is still visible.
Will restoring change the faces in my photo?
RetroPic is tuned to keep the original faces and expressions. It repairs damage around them instead of inventing a new person. Always compare before and after with the slider.
What is the best way to scan an old photo with an iPhone?
Use soft daylight, no flash, and hold the phone parallel to the photo. Remove the print from glass frames and plastic sleeves to avoid glare.
Can I restore a torn or scratched photo?
Yes. Tape a torn print together from the back, scan it, and run Restore Old Photo. The AI fills thin tears and scratches. Large missing pieces can only be approximated.
Related guides
How to Colorize Black and White Photos
Turn black and white family photos into natural color on your iPhone. How AI colorization works, what to expect, and how to get the best result.
How to Restore Water Damaged Photos
What to do right away with wet or water damaged photos, how to dry them safely, and how to repair stains and fading digitally on your iPhone.

Bring your old photos back to life
Download RetroPic for iPhone. Your first photo is free.
Scan with your iPhone camera